Parental Arts
DIY Halloween Costumes for 2020
From Bored in the House to Perfectly Spaced Invaders, these DIY Halloween costumes are made for the moment and easy to execute.
- Written By
- Sally Voyles
Retro Robot
Join the robot revolution. Build your army by repurposing that never-ending stream of shipping boxes into a retro-cool classic.
Materials: Two Cardboard Boxes, Paint, Glue, Metallic Pipe Cleaners (optional), Corrugated Steel Pipe (optional)
1) For the head of the robot, take the smaller sized box and cut out two holes for the eyes.
2) For the body of the robot, use a slightly larger box, and cut out two holes for the arms on the side, and a large hole at the top for them to put their head through.
3) Decorate your robot with spare pieces of cardboard, bottle caps, pipe cleaners, basically anything you can find around the house or in the garage. Corrugated steel around the legs and arms will give your little cyborg that instant old-school classic look.
Bonus: Robots love to dance, it’s a fact. Create a “DANCE” button to inspire that robo-boogie.


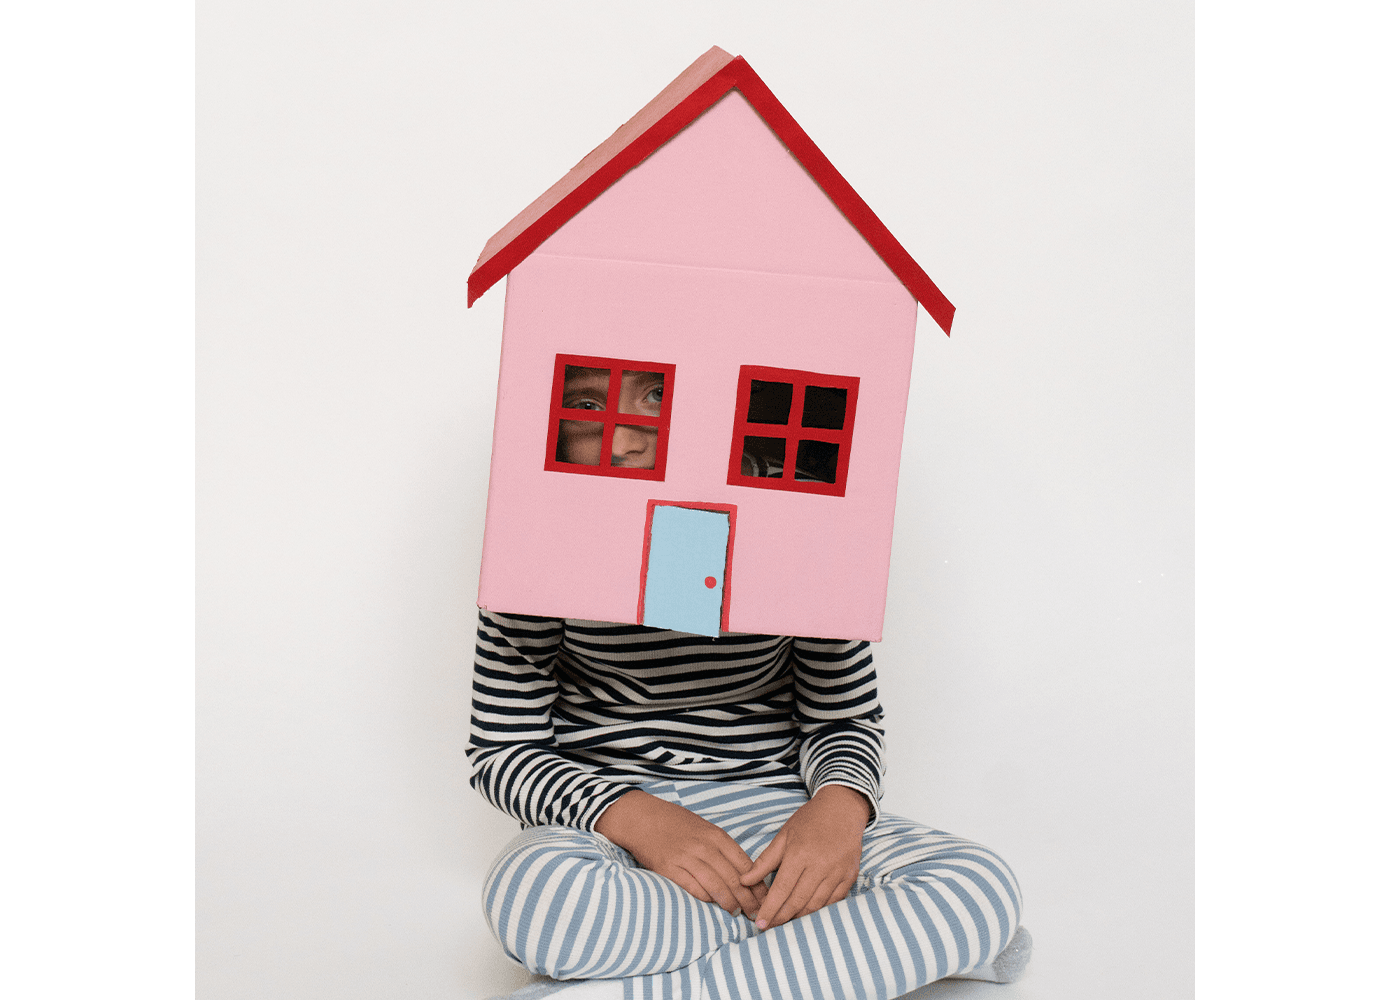
Bored in the House
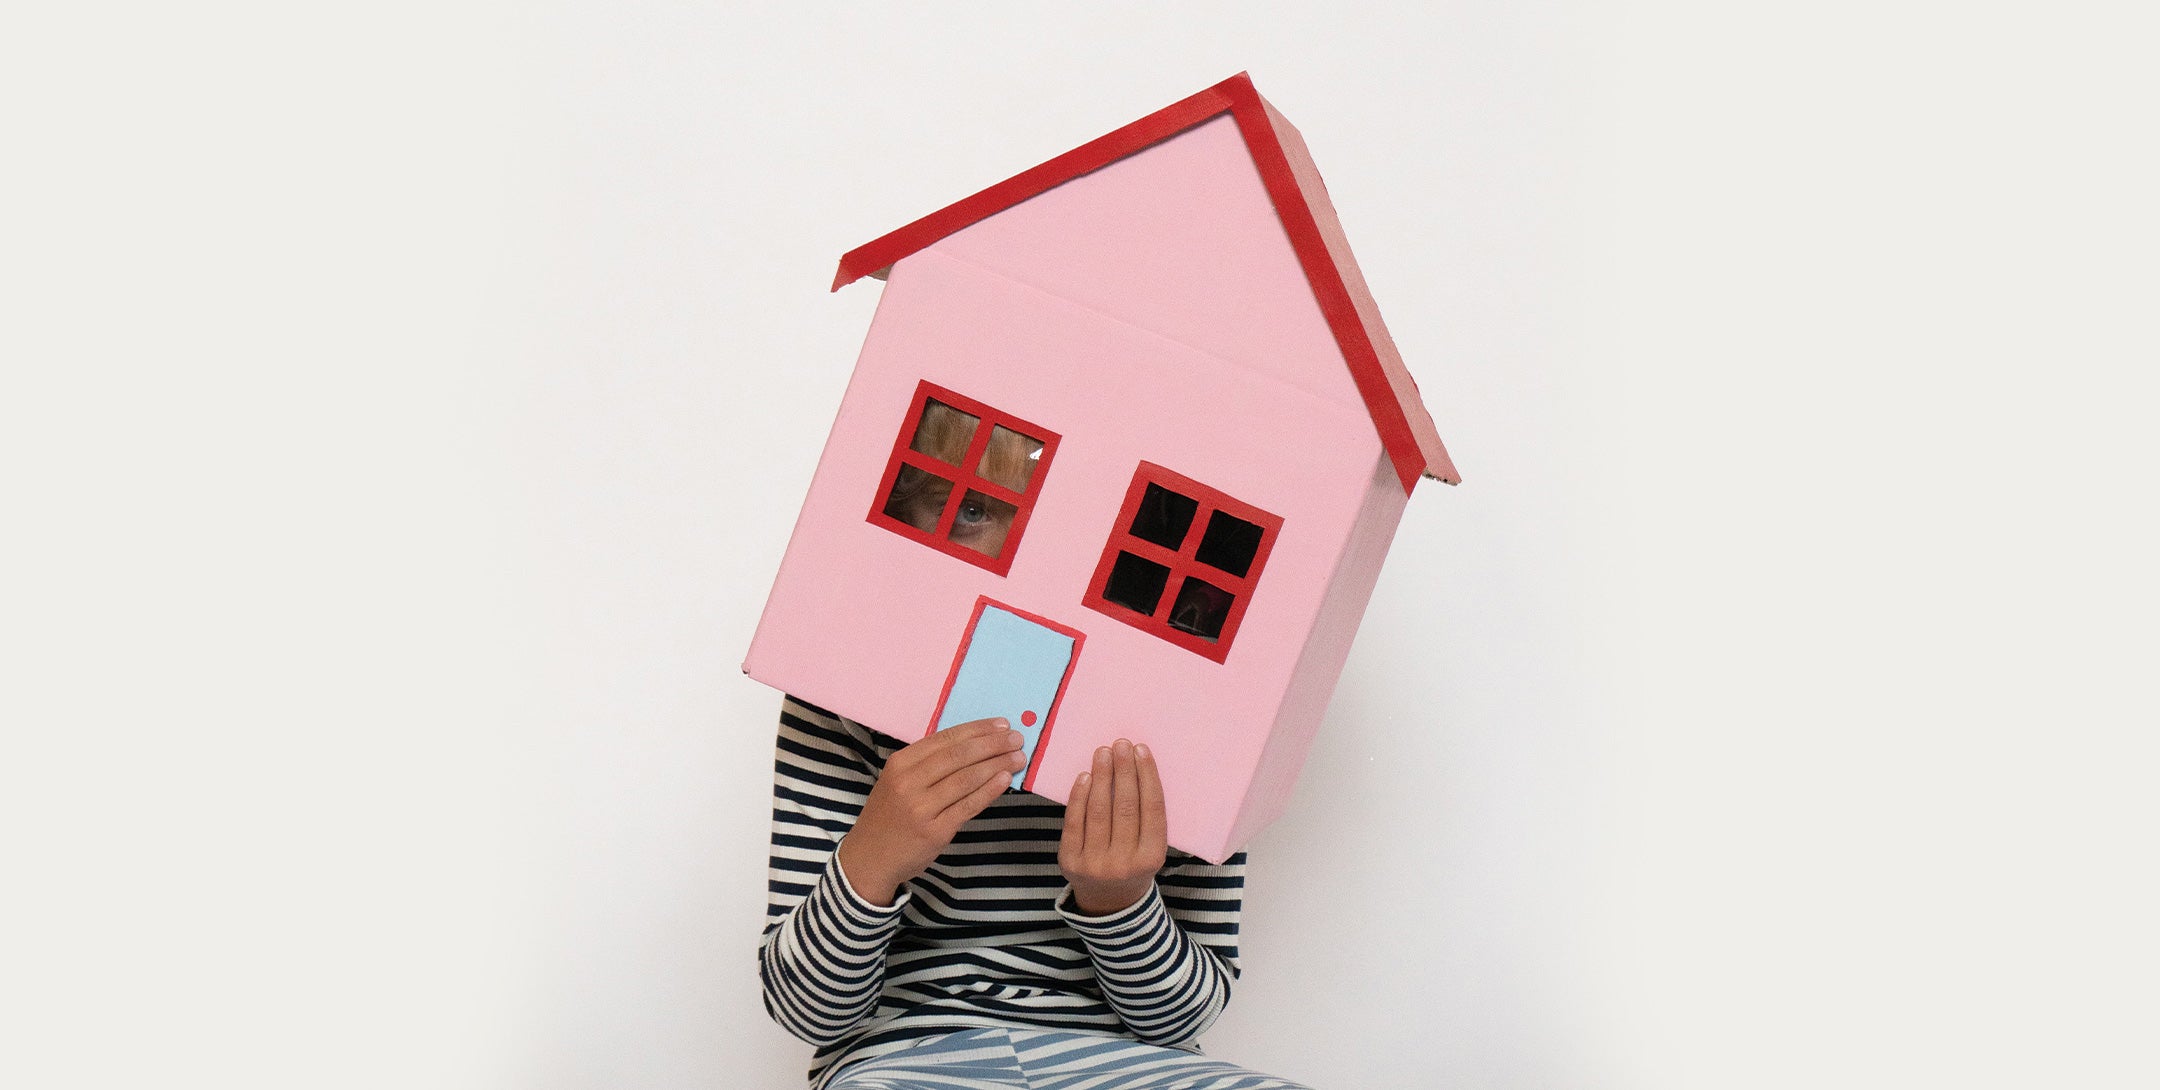
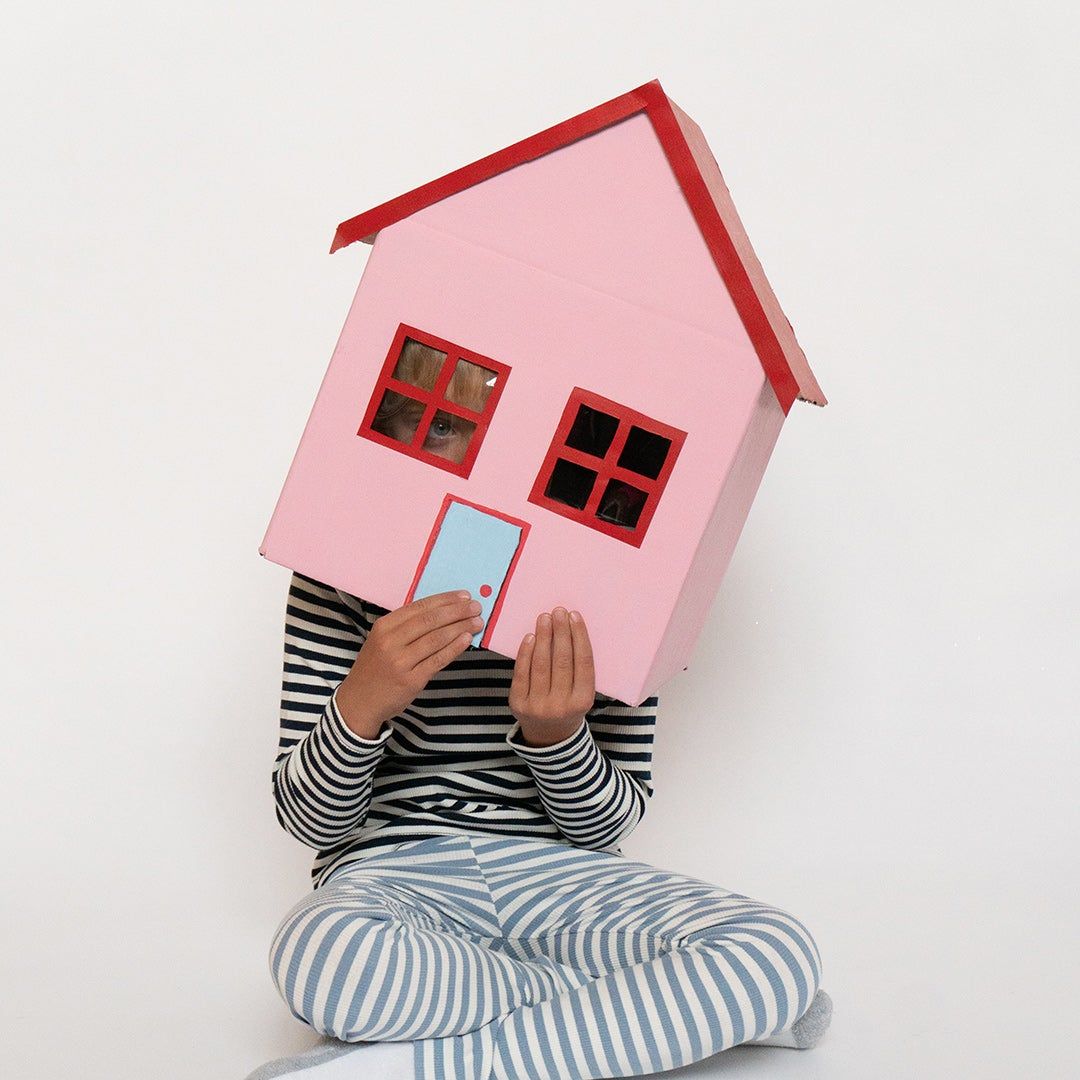
Love it or hate it, 2020 just wouldn’t be the same without TikTok. It made us laugh, it made us dance, and most importantly, it gave us new ways to connect when times got tough. What better way to commemorate the rise and demise of our new favorite social media platform than Tyga’s timely hit and persistent earworm “Bored In The House”?
Materials: Cardboard Box, Glue, Construction Paper, Paint
1) Build the foundation of the house with an assembled cardboard box.
2) To create a classic A-frame roof, cut the front and back-facing flaps of the top of the box into triangles.
3) Fold a piece of cardboard over the top of the triangles and glue in place to create a roof.
4) Cut two large squares out of the front of the house to serve as windows.
5) Paint the house however you’d like. The more details the better!
6) Create window trimmings by cutting quarter inch strips of construction paper and gluing them around the frame of the window (I used extras to trim the roof of the house).
7) Glue a piece of plastic or saran wrap on the interior of the windows for extra security.
Bonus: Create a candy door that they can open and close by cutting 3 sides of a rectangle into the bottom of the house.
Tip: If the classic A-Frame style house feels daunting, consider a sophisticated Brooklyn Brownstone or Southwestern Adobe style home.
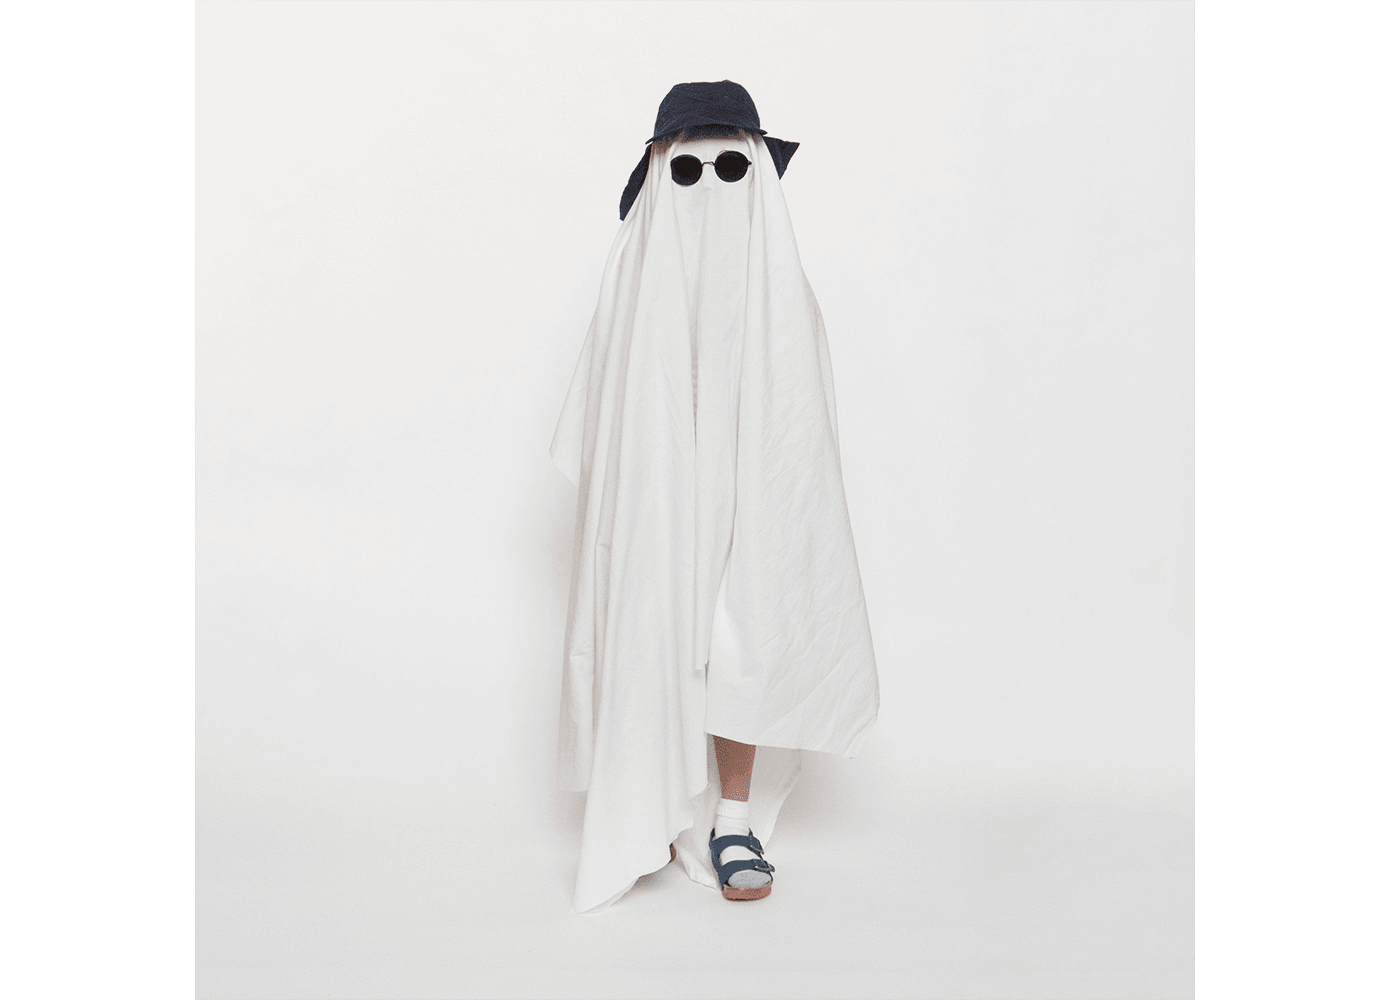
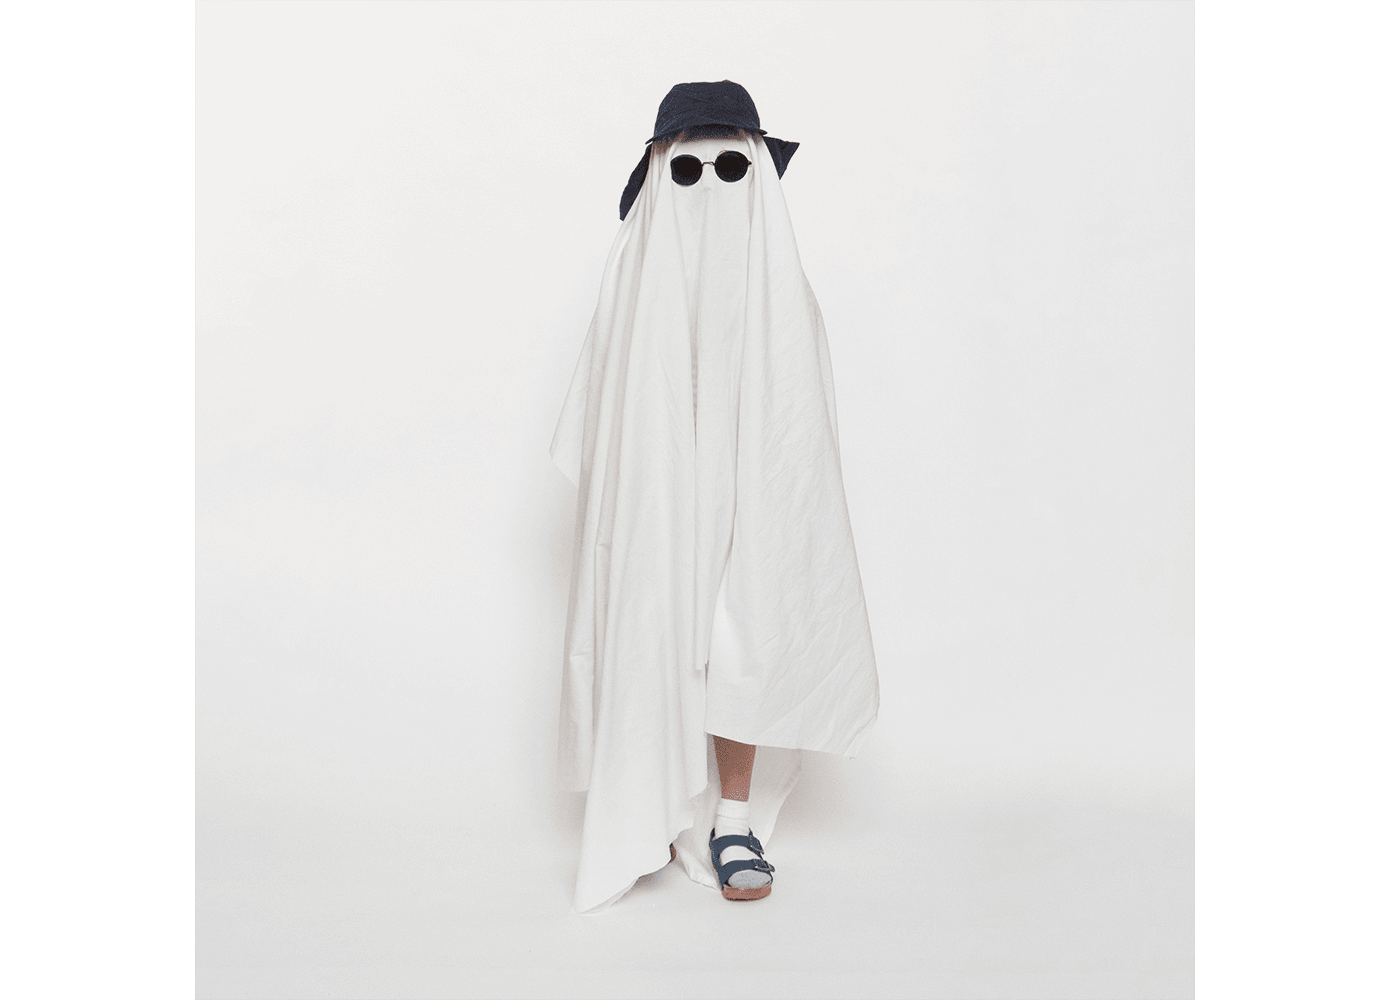
The Ghost of Vacations Past
Get in the spirit of the holidays! There’s a reason that this classic costume just won’t die - it seriously doesn’t get any easier than this. And with travel plans put permanently on hold this year, we’ll take whatever semblance of a vacation we can get.
Materials: An Old Sheet, Scissors
1) Take an old sheet, throw it over their head and cut to length.
2) Cut out two holes for the eyes.
3) Accessorize.
Alternative Ideas: Glamour Ghost, Safari Ghost, Cowboy Ghost
Materials: An Old Sheet, Scissors
1) Take an old sheet, throw it over their head and cut to length.
2) Cut out two holes for the eyes.
3) Accessorize.
Alternative Ideas: Glamour Ghost, Safari Ghost, Cowboy Ghost
Properly Spaced Invaders
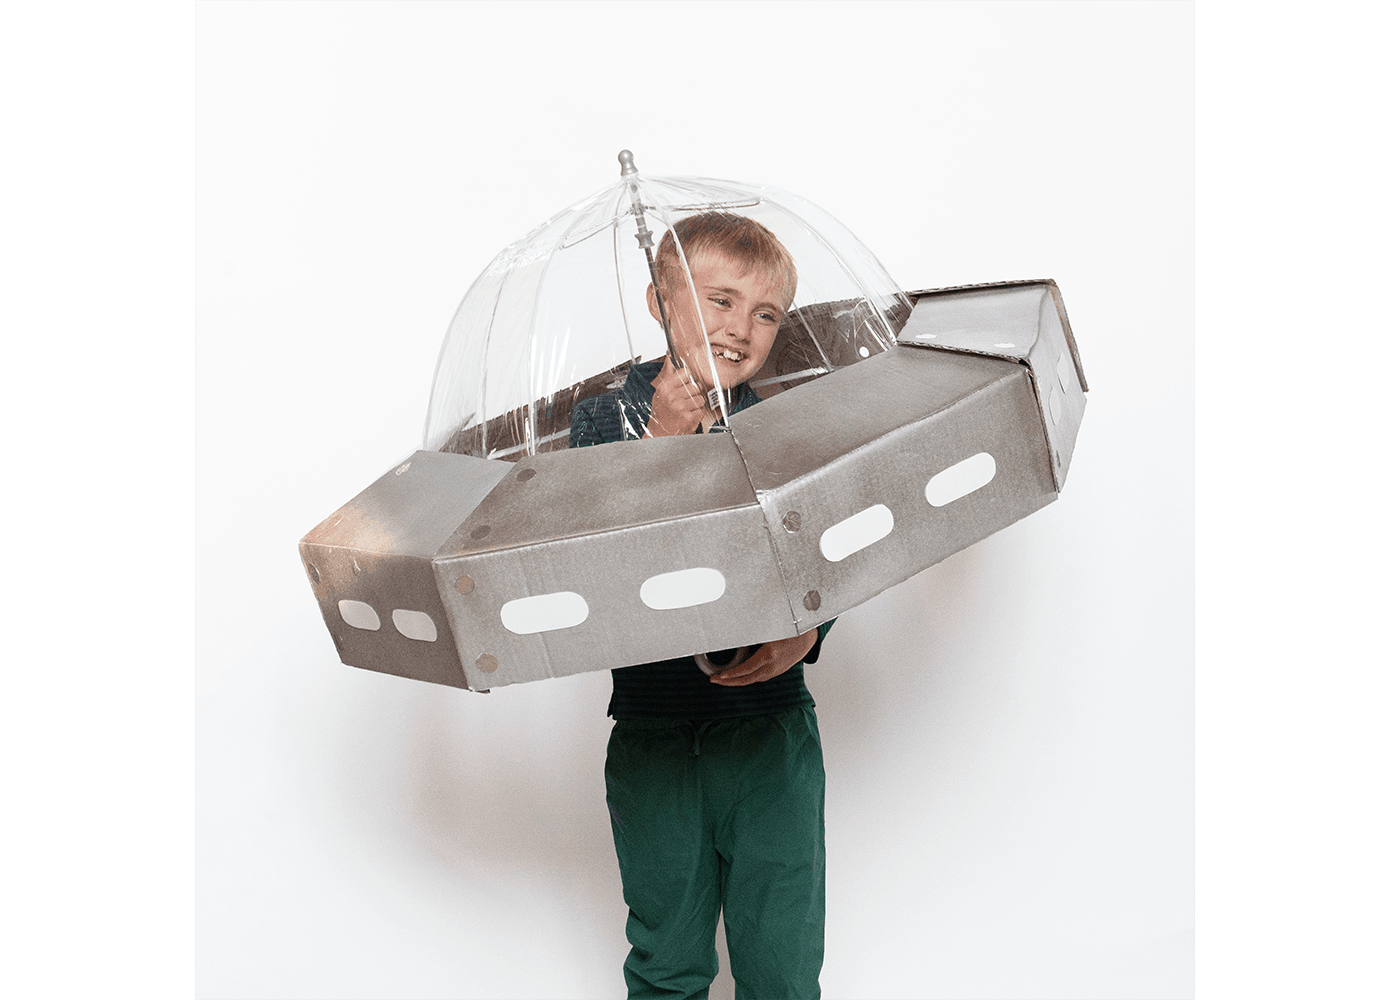
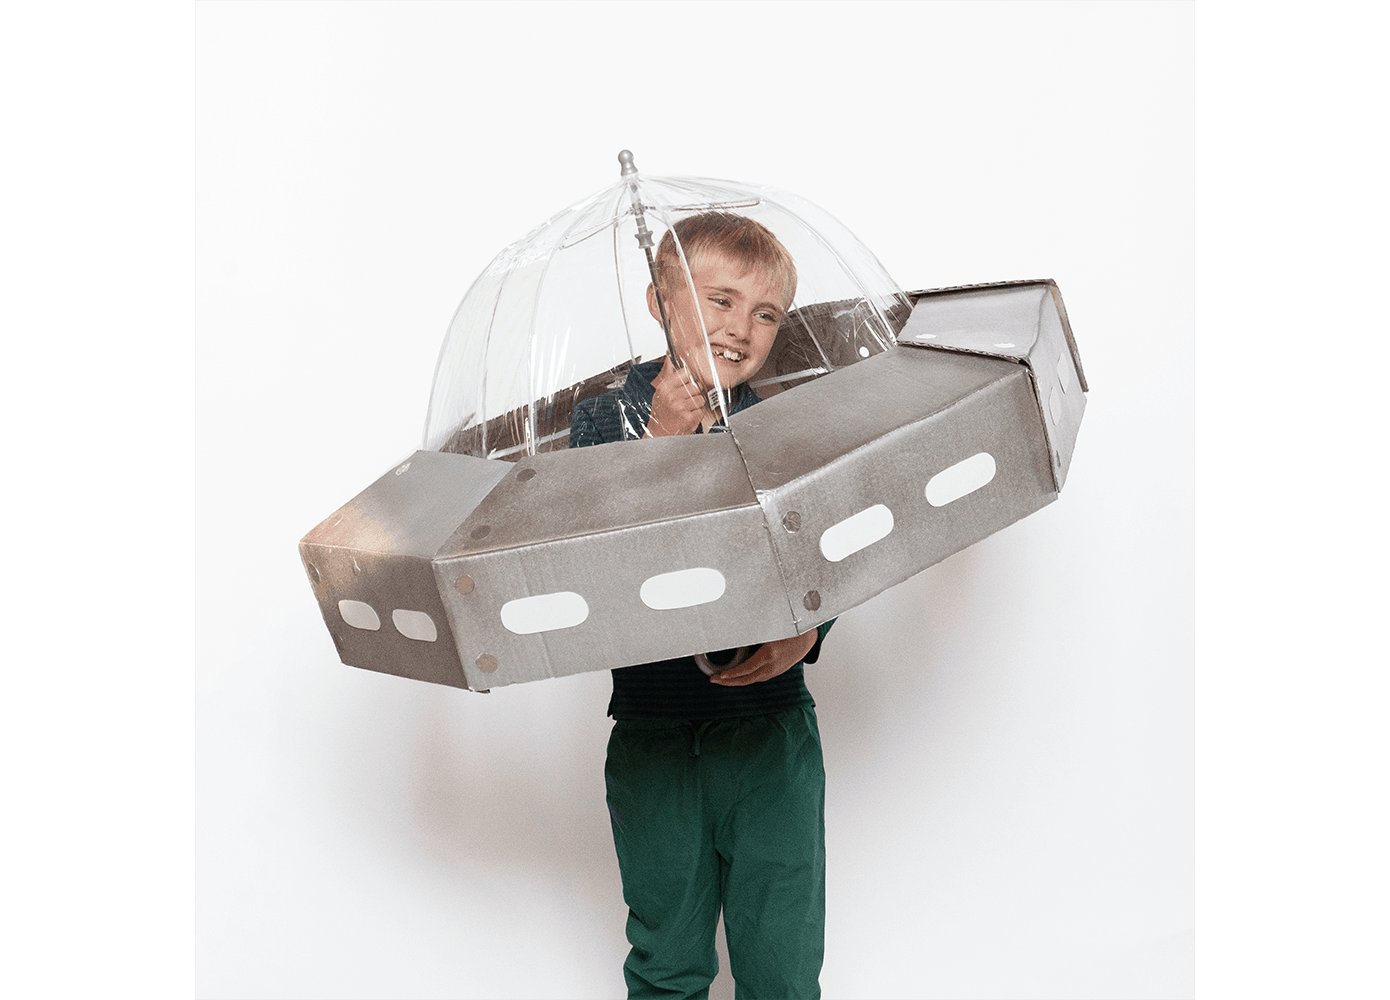
Honestly, the way this year has been going, we wouldn’t be the least bit surprised if a UFO showed up at our door. This costume provides the perfect vessel for your little space oddity. Watch out, because even though they come in peace, they’ll be sure to invade your candy stash.
Materials: Clear Umbrella, Cardboard, Duct Tape, Silver Paint
1) Full Disclosure: This requires a simple bit of math. To preserve the integrity of the umbrella for future use, you’ll want to design the panels to sit a few inches up from the bottom edge of the umbrella. For an octagonal umbrella with panels that are 10’’ at their widest, I created 8 panels 8’’ wide to create the body of the spaceship.
2) Overlap the panels and secure with a strong adhesive (hot glue or duct tape) from the inside.
3) Paint the body of space in a metallic sheen and decorate it with bolts and lights.
4) Place the body of the body of the spaceship over the umbrella. If you designed it to sit tight, you should not need to secure it to the umbrella.
Bonus: Give your little martian a flashlight so they can pull in unsuspecting siblings with their tractor beam.
