Make It Holiday!
This Christmas, Put a Bow on It
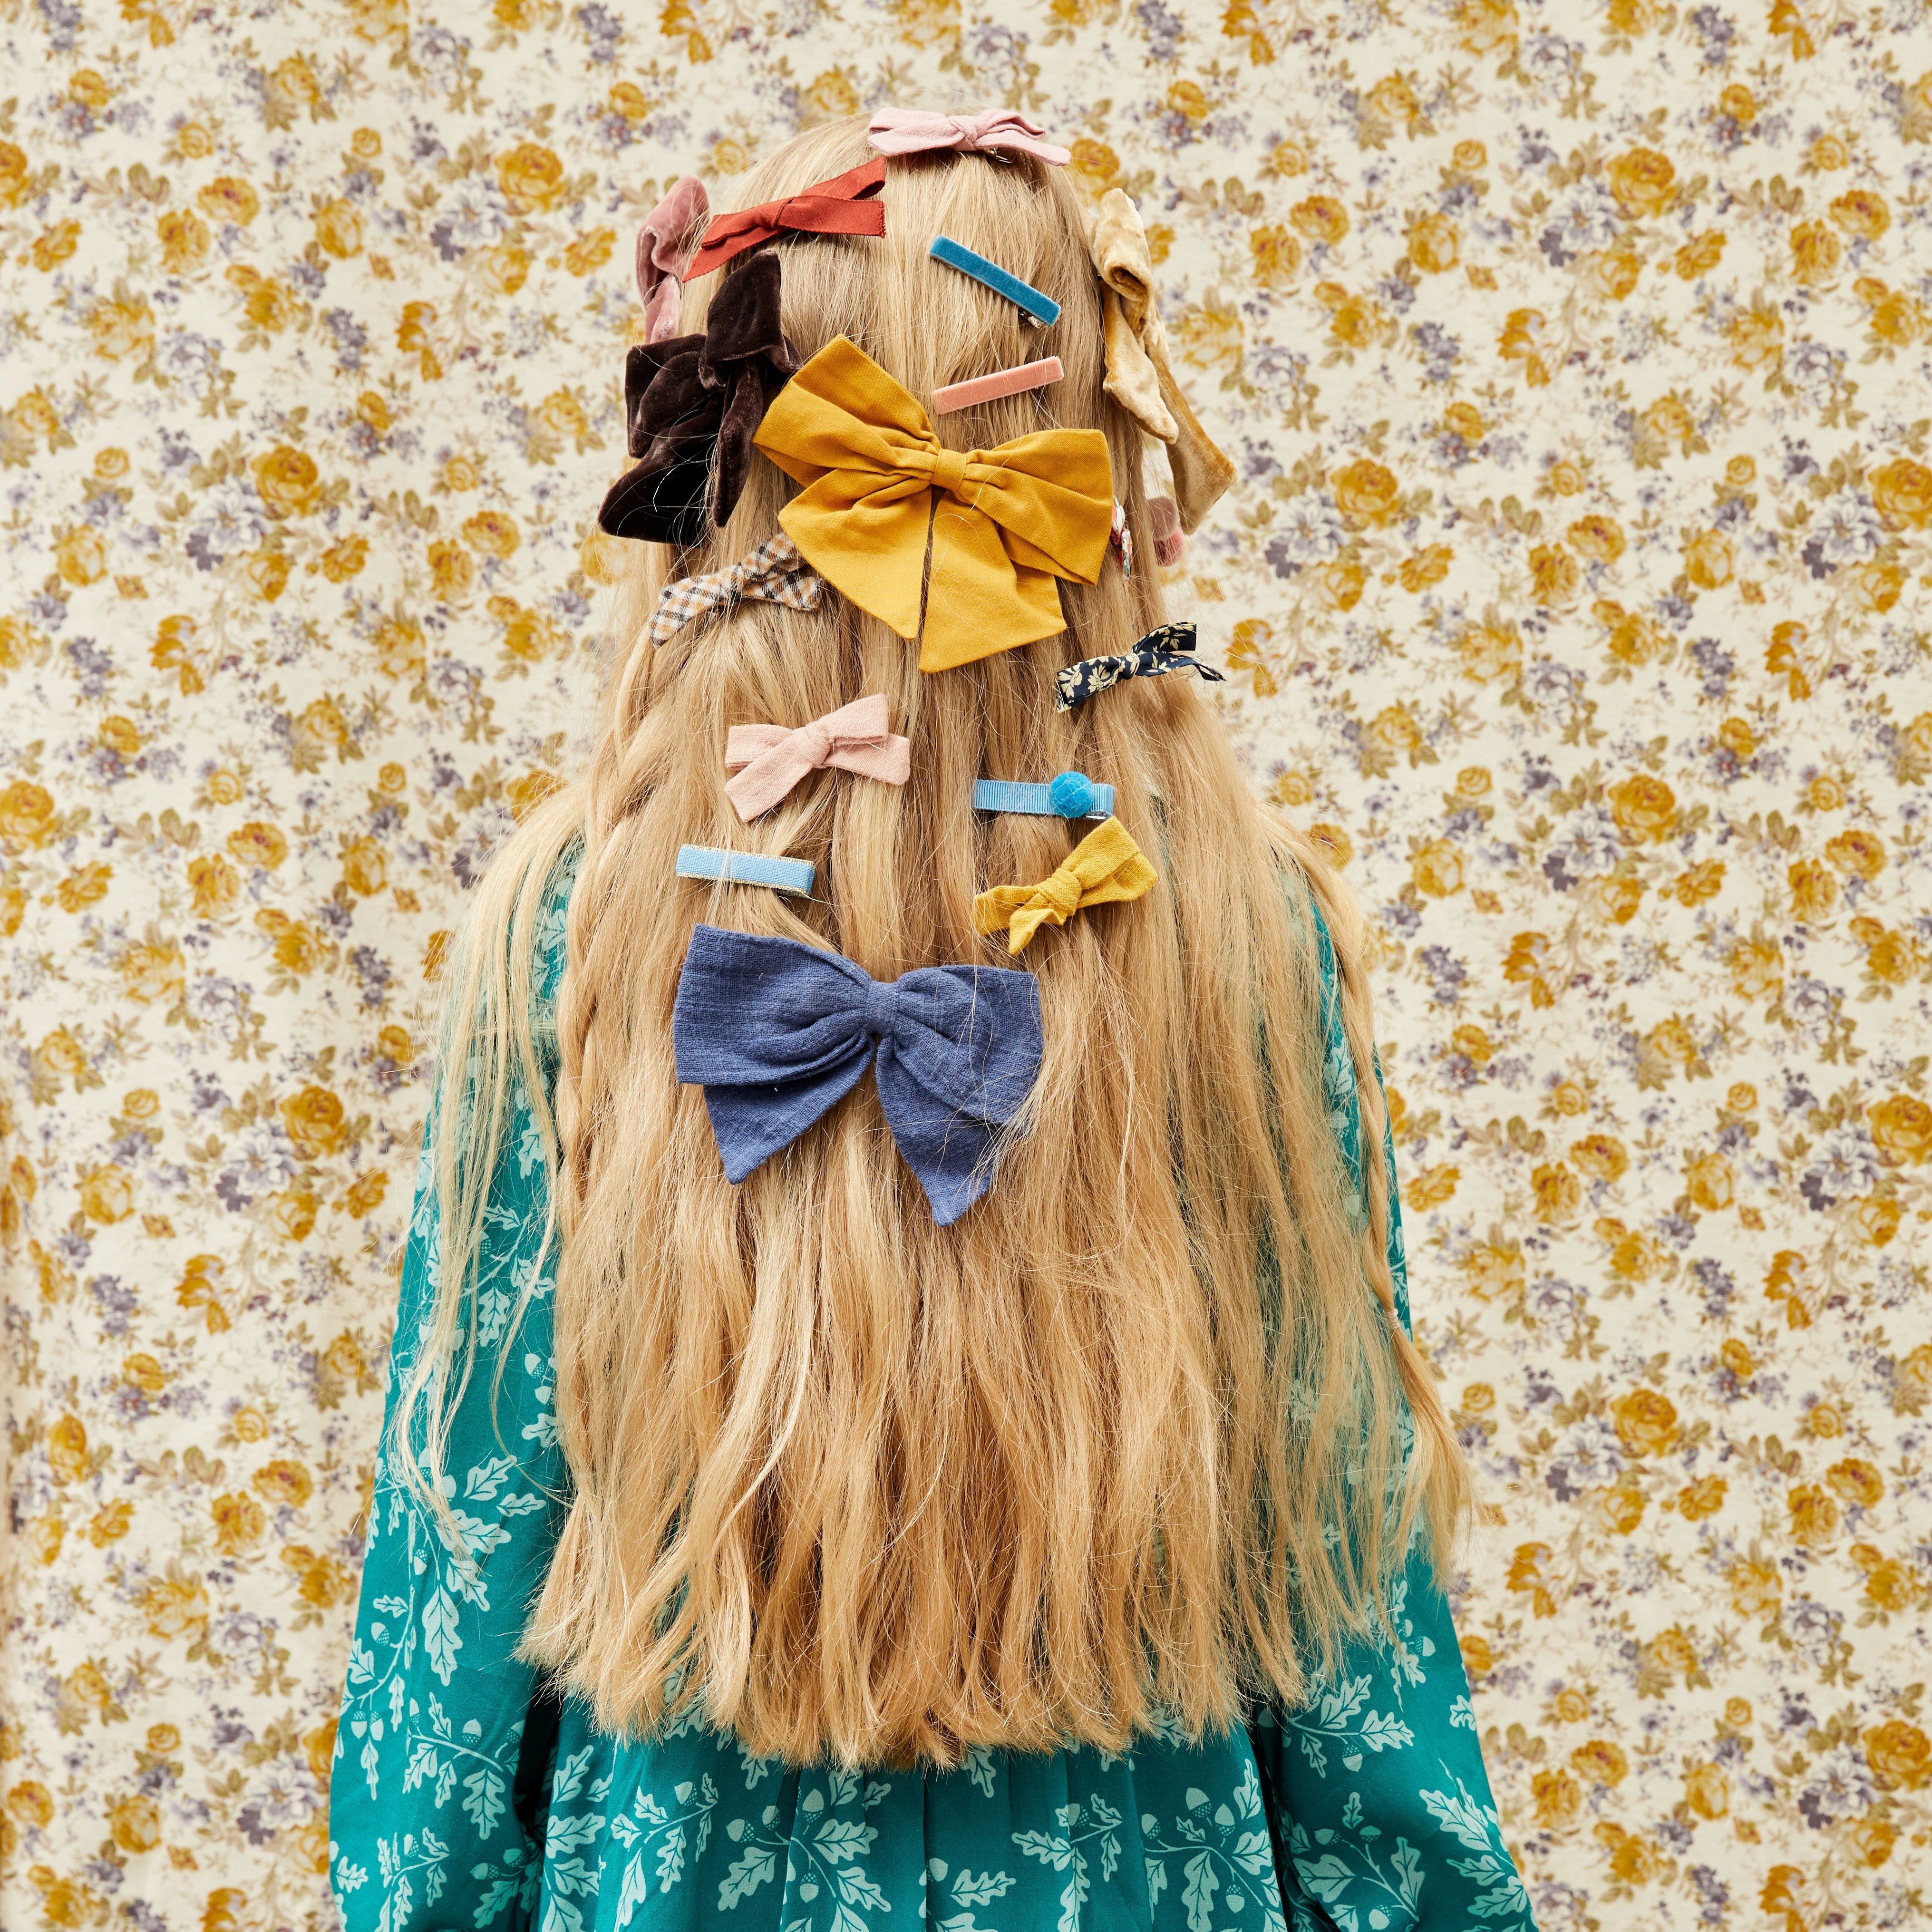
After a low-key Christmas last year, we're turning up the dial on drama and embracing the idea that more is more when it comes to this holiday mainstay. Here are our favorite places to put a bow on it–and how to tie the perfect specimen.
- Written By
- Katie Covington
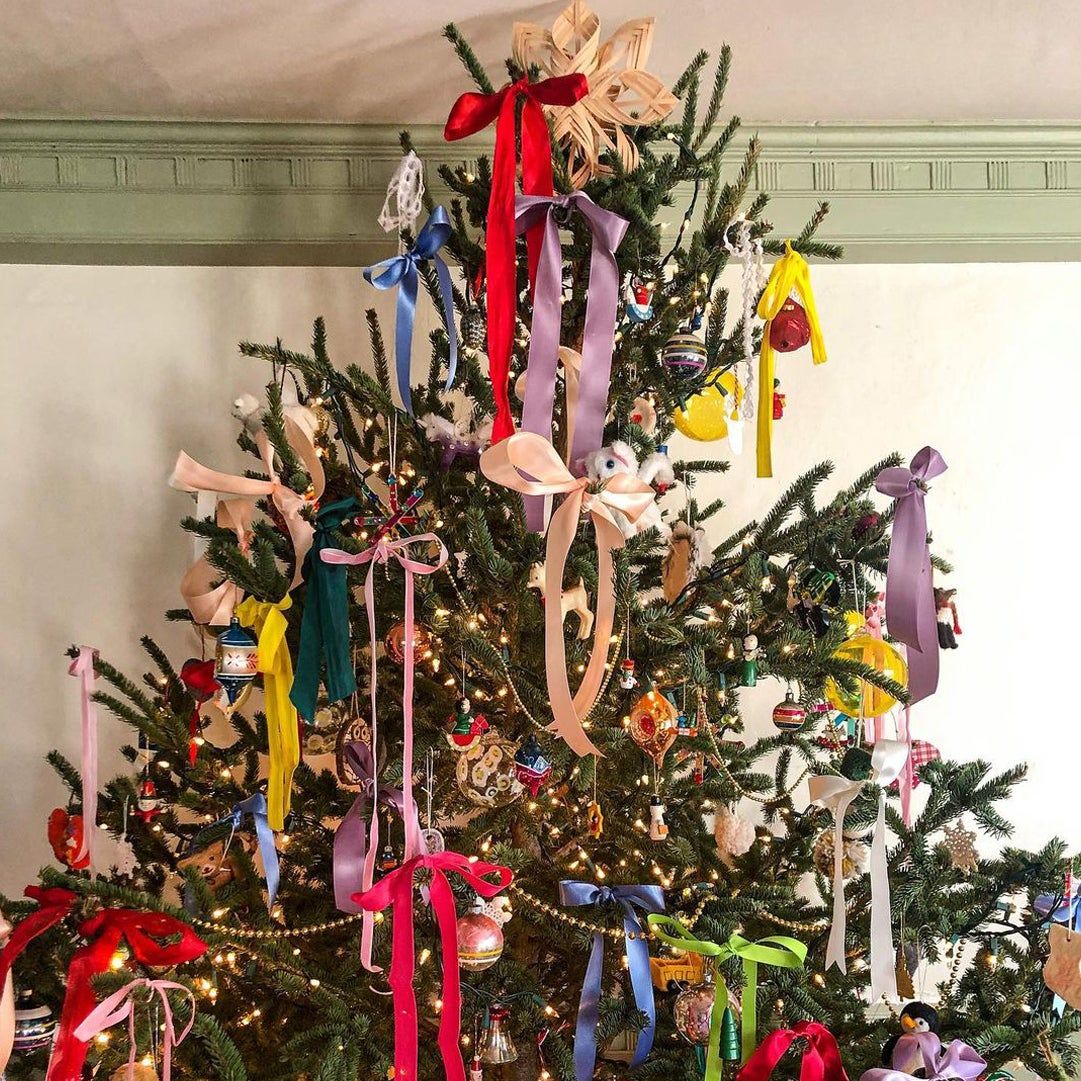
No longer relegated to wrapping presents, we've spotted bows in favorite corners of the internet and on set at our recent Maison Me holiday shoot. While a bow for Christmas might not feel groundbreaking, what makes this season's microtrend unexpected is piling on multiple bows in a riot of colors, scales, and textures so it's more lived-in and less precious than the giant red velvet bows you might typically see this time of year.
Make It Monochrome
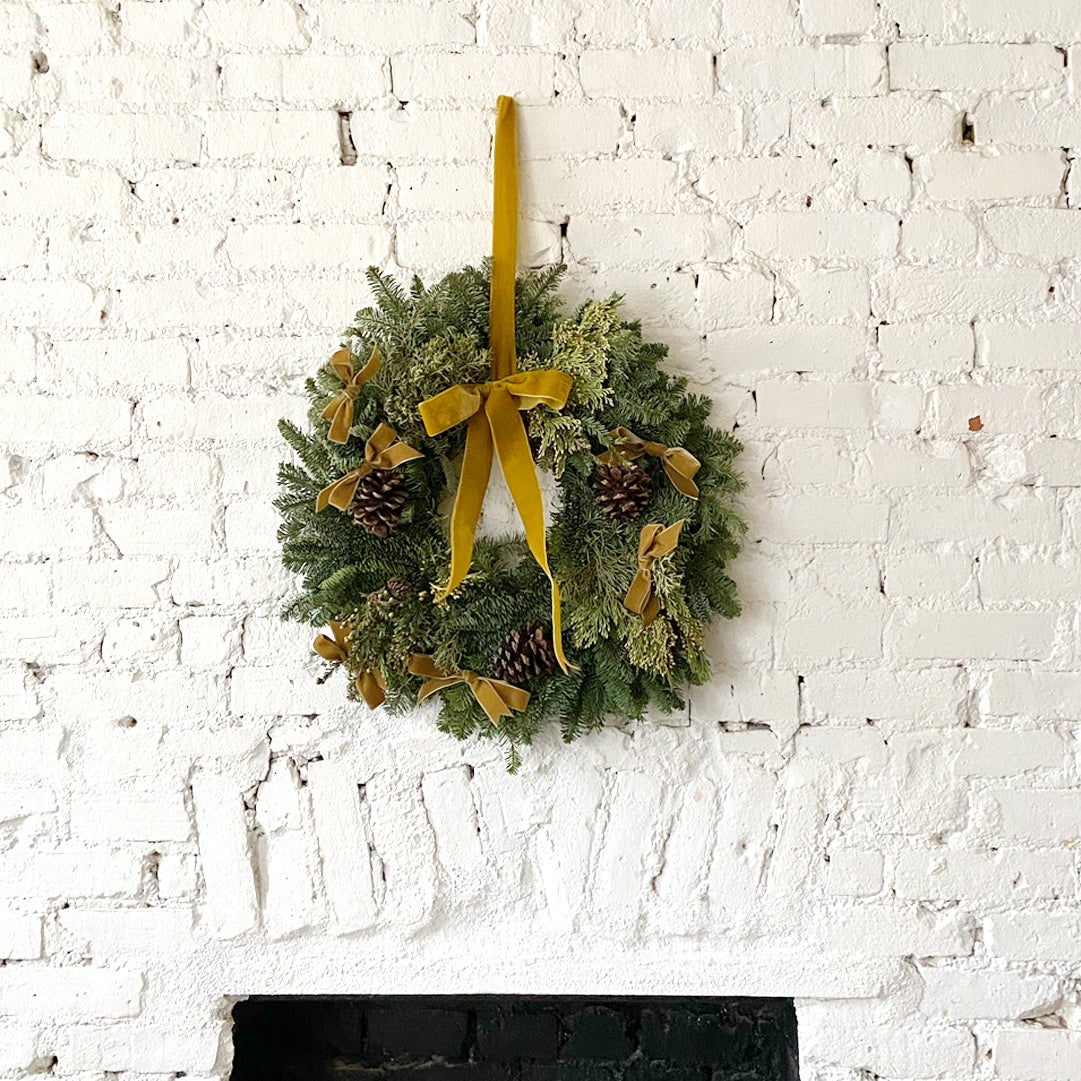
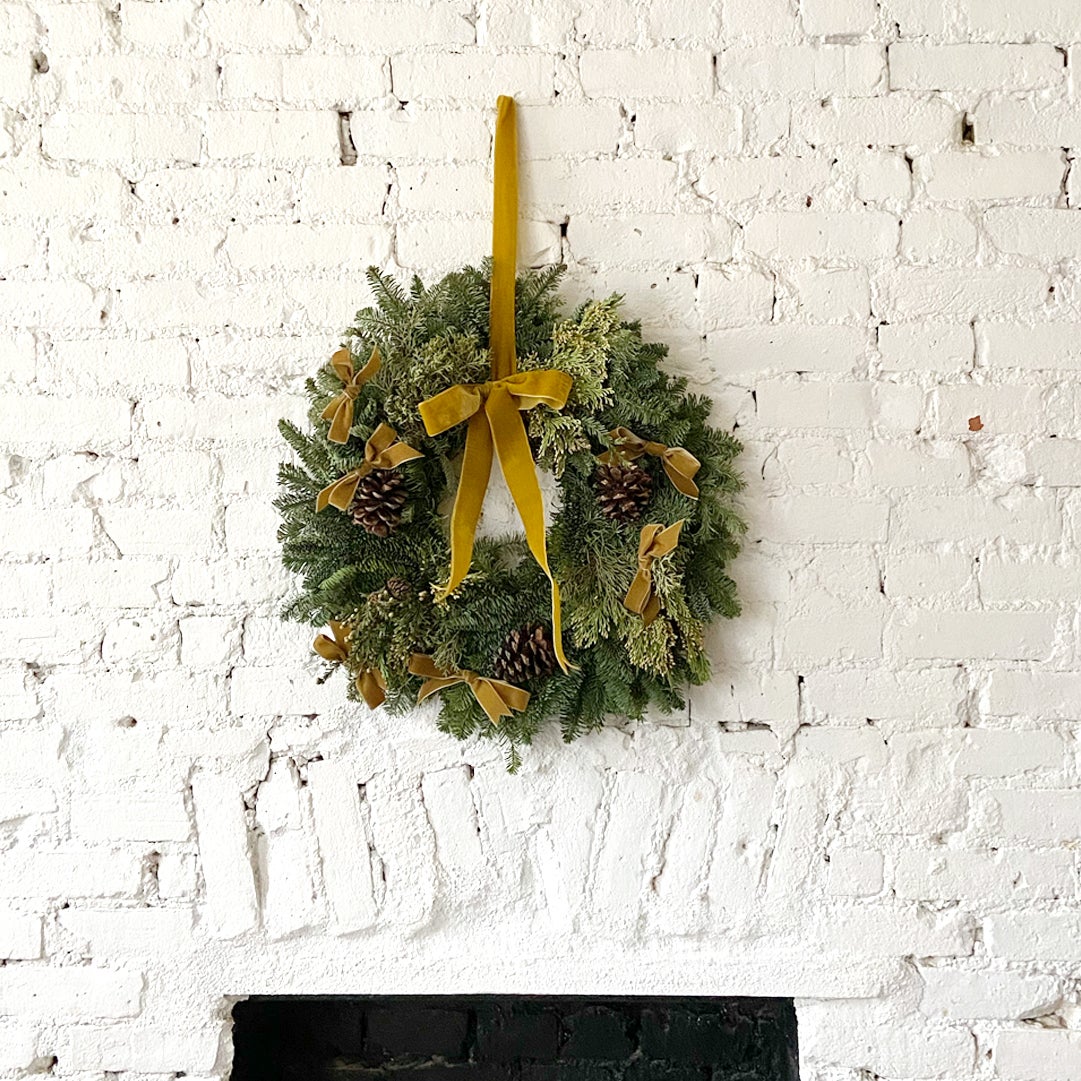
For an easy update on tradition, play with the scale–here we used lots of small bows in tonal shades instead of one giant bow. We tied each bow in varying sizes and shapes for this wreath, adding them with a bit of floral wire. The rich wheat color blends in with the evergreen branches, just peeking out here and there. Hang the wreath with a matching section of velvet ribbon.
For Their Hair
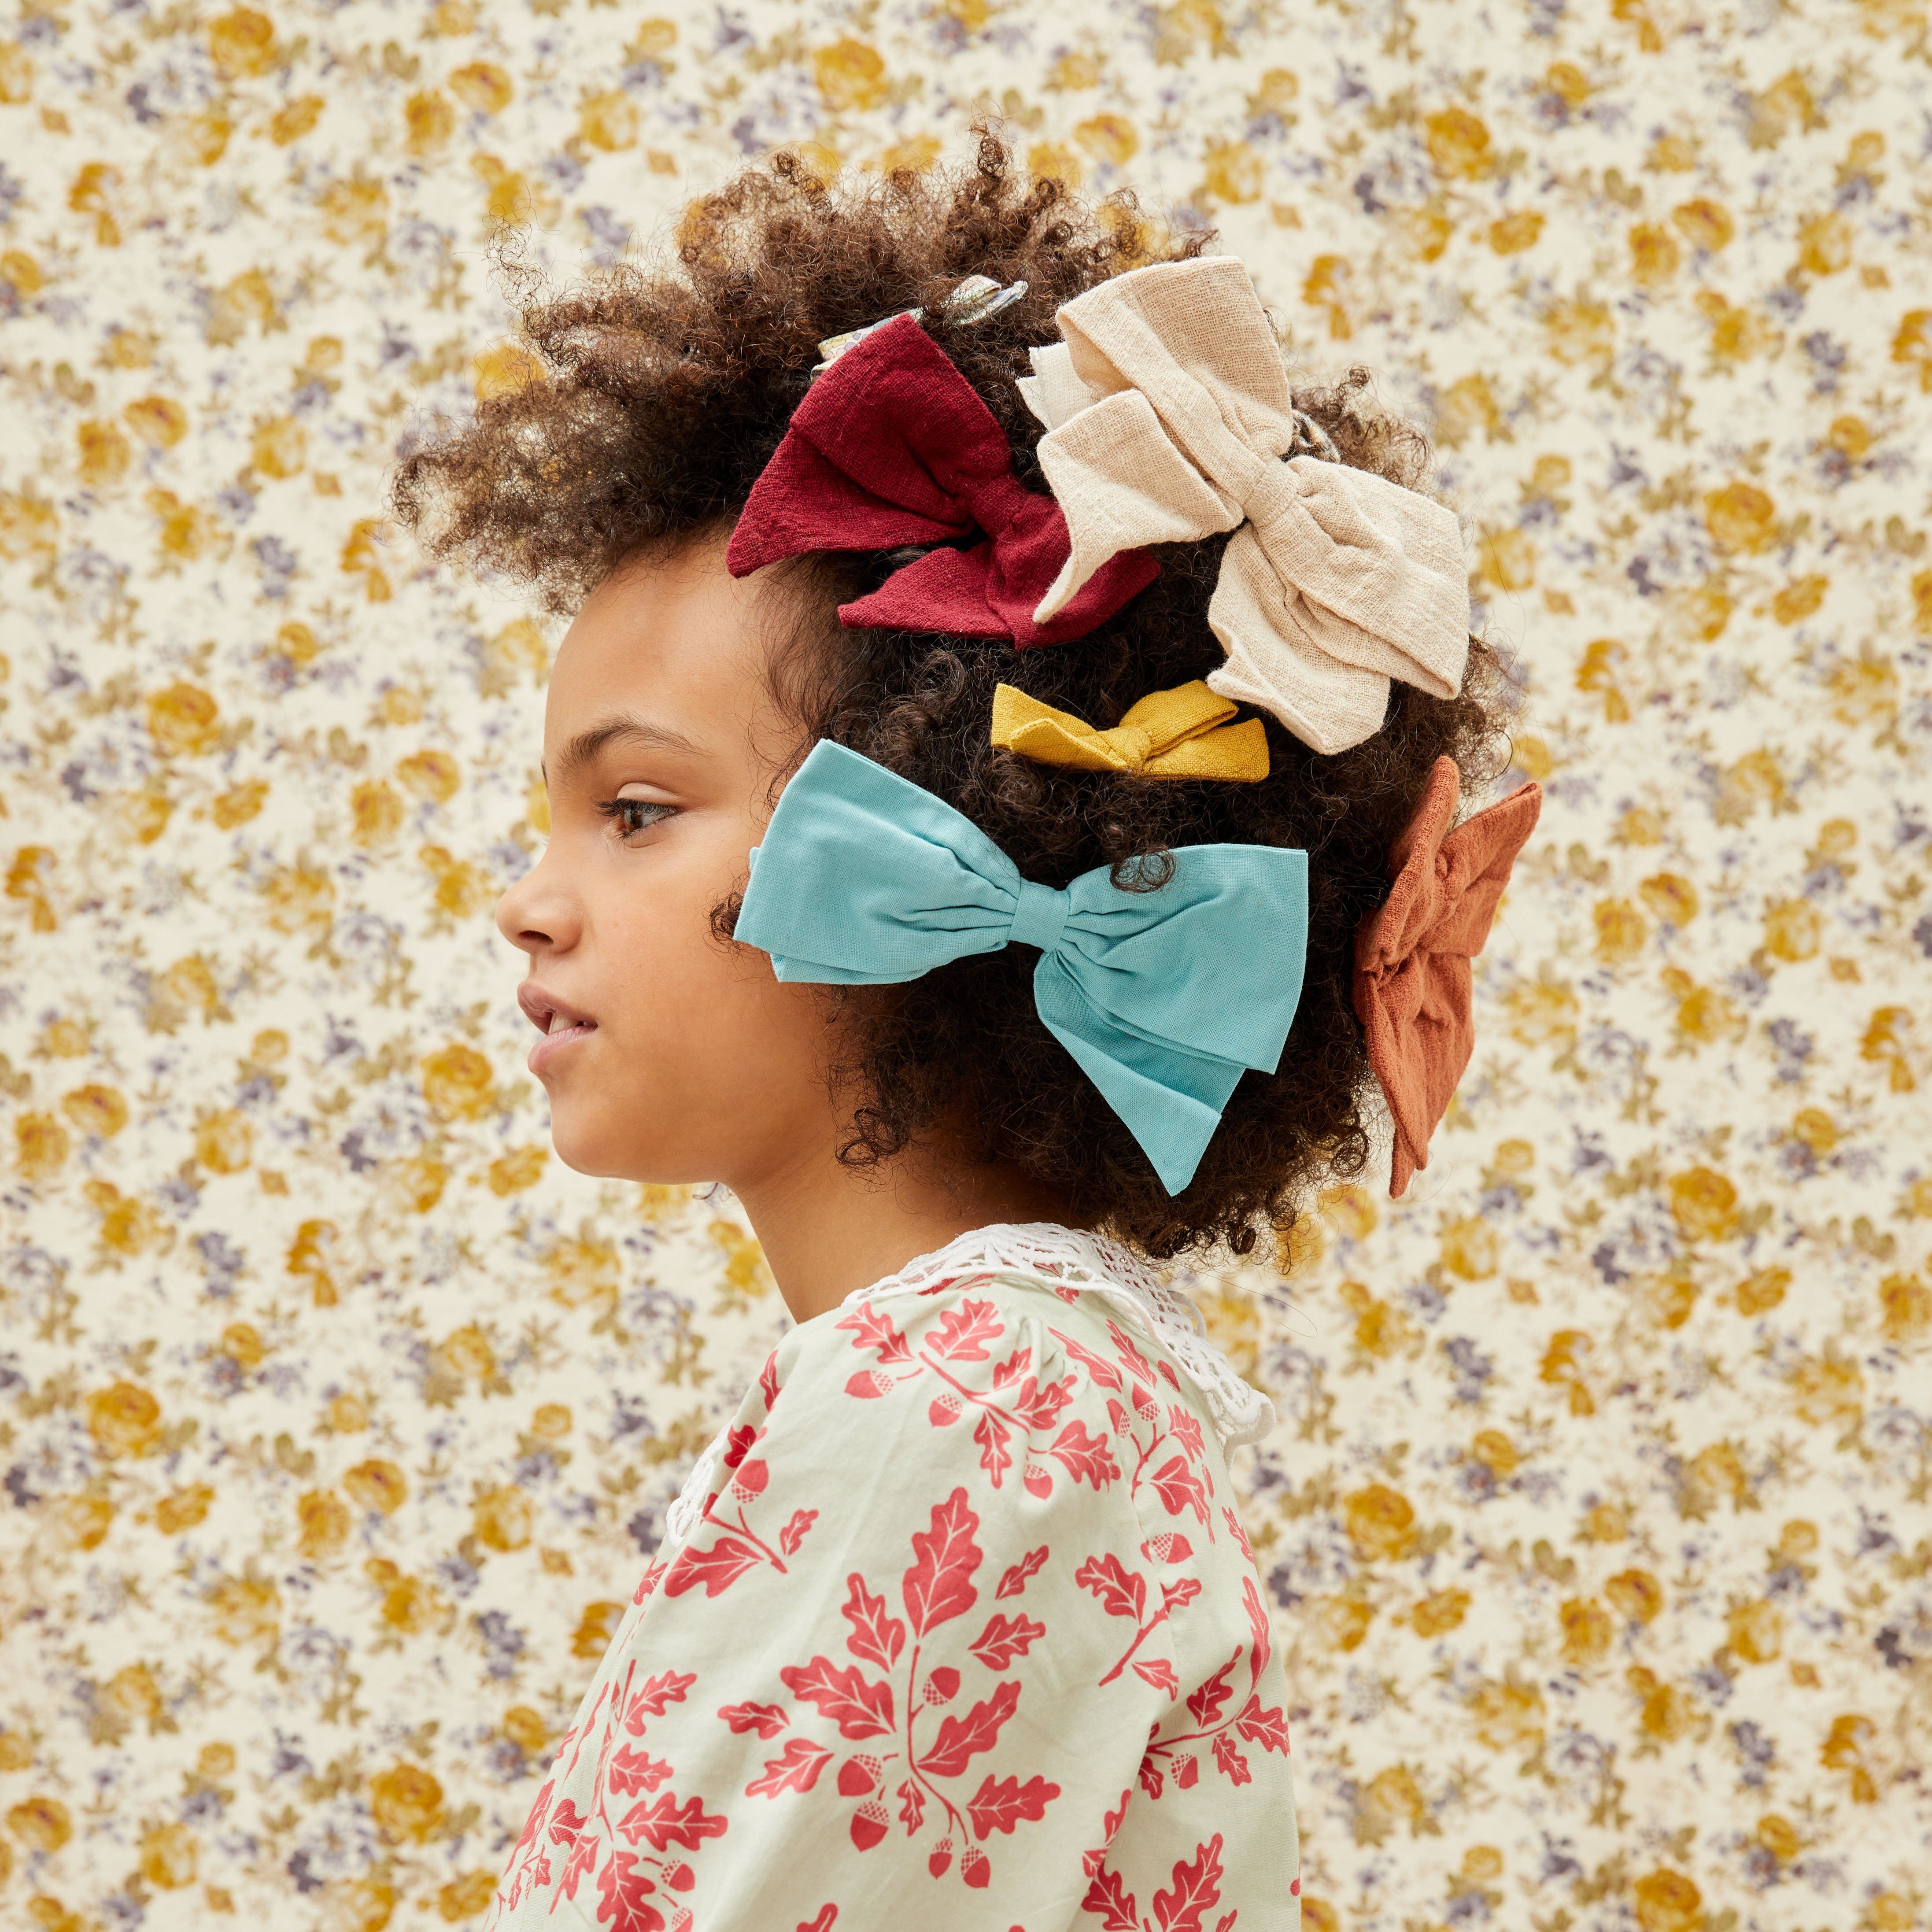
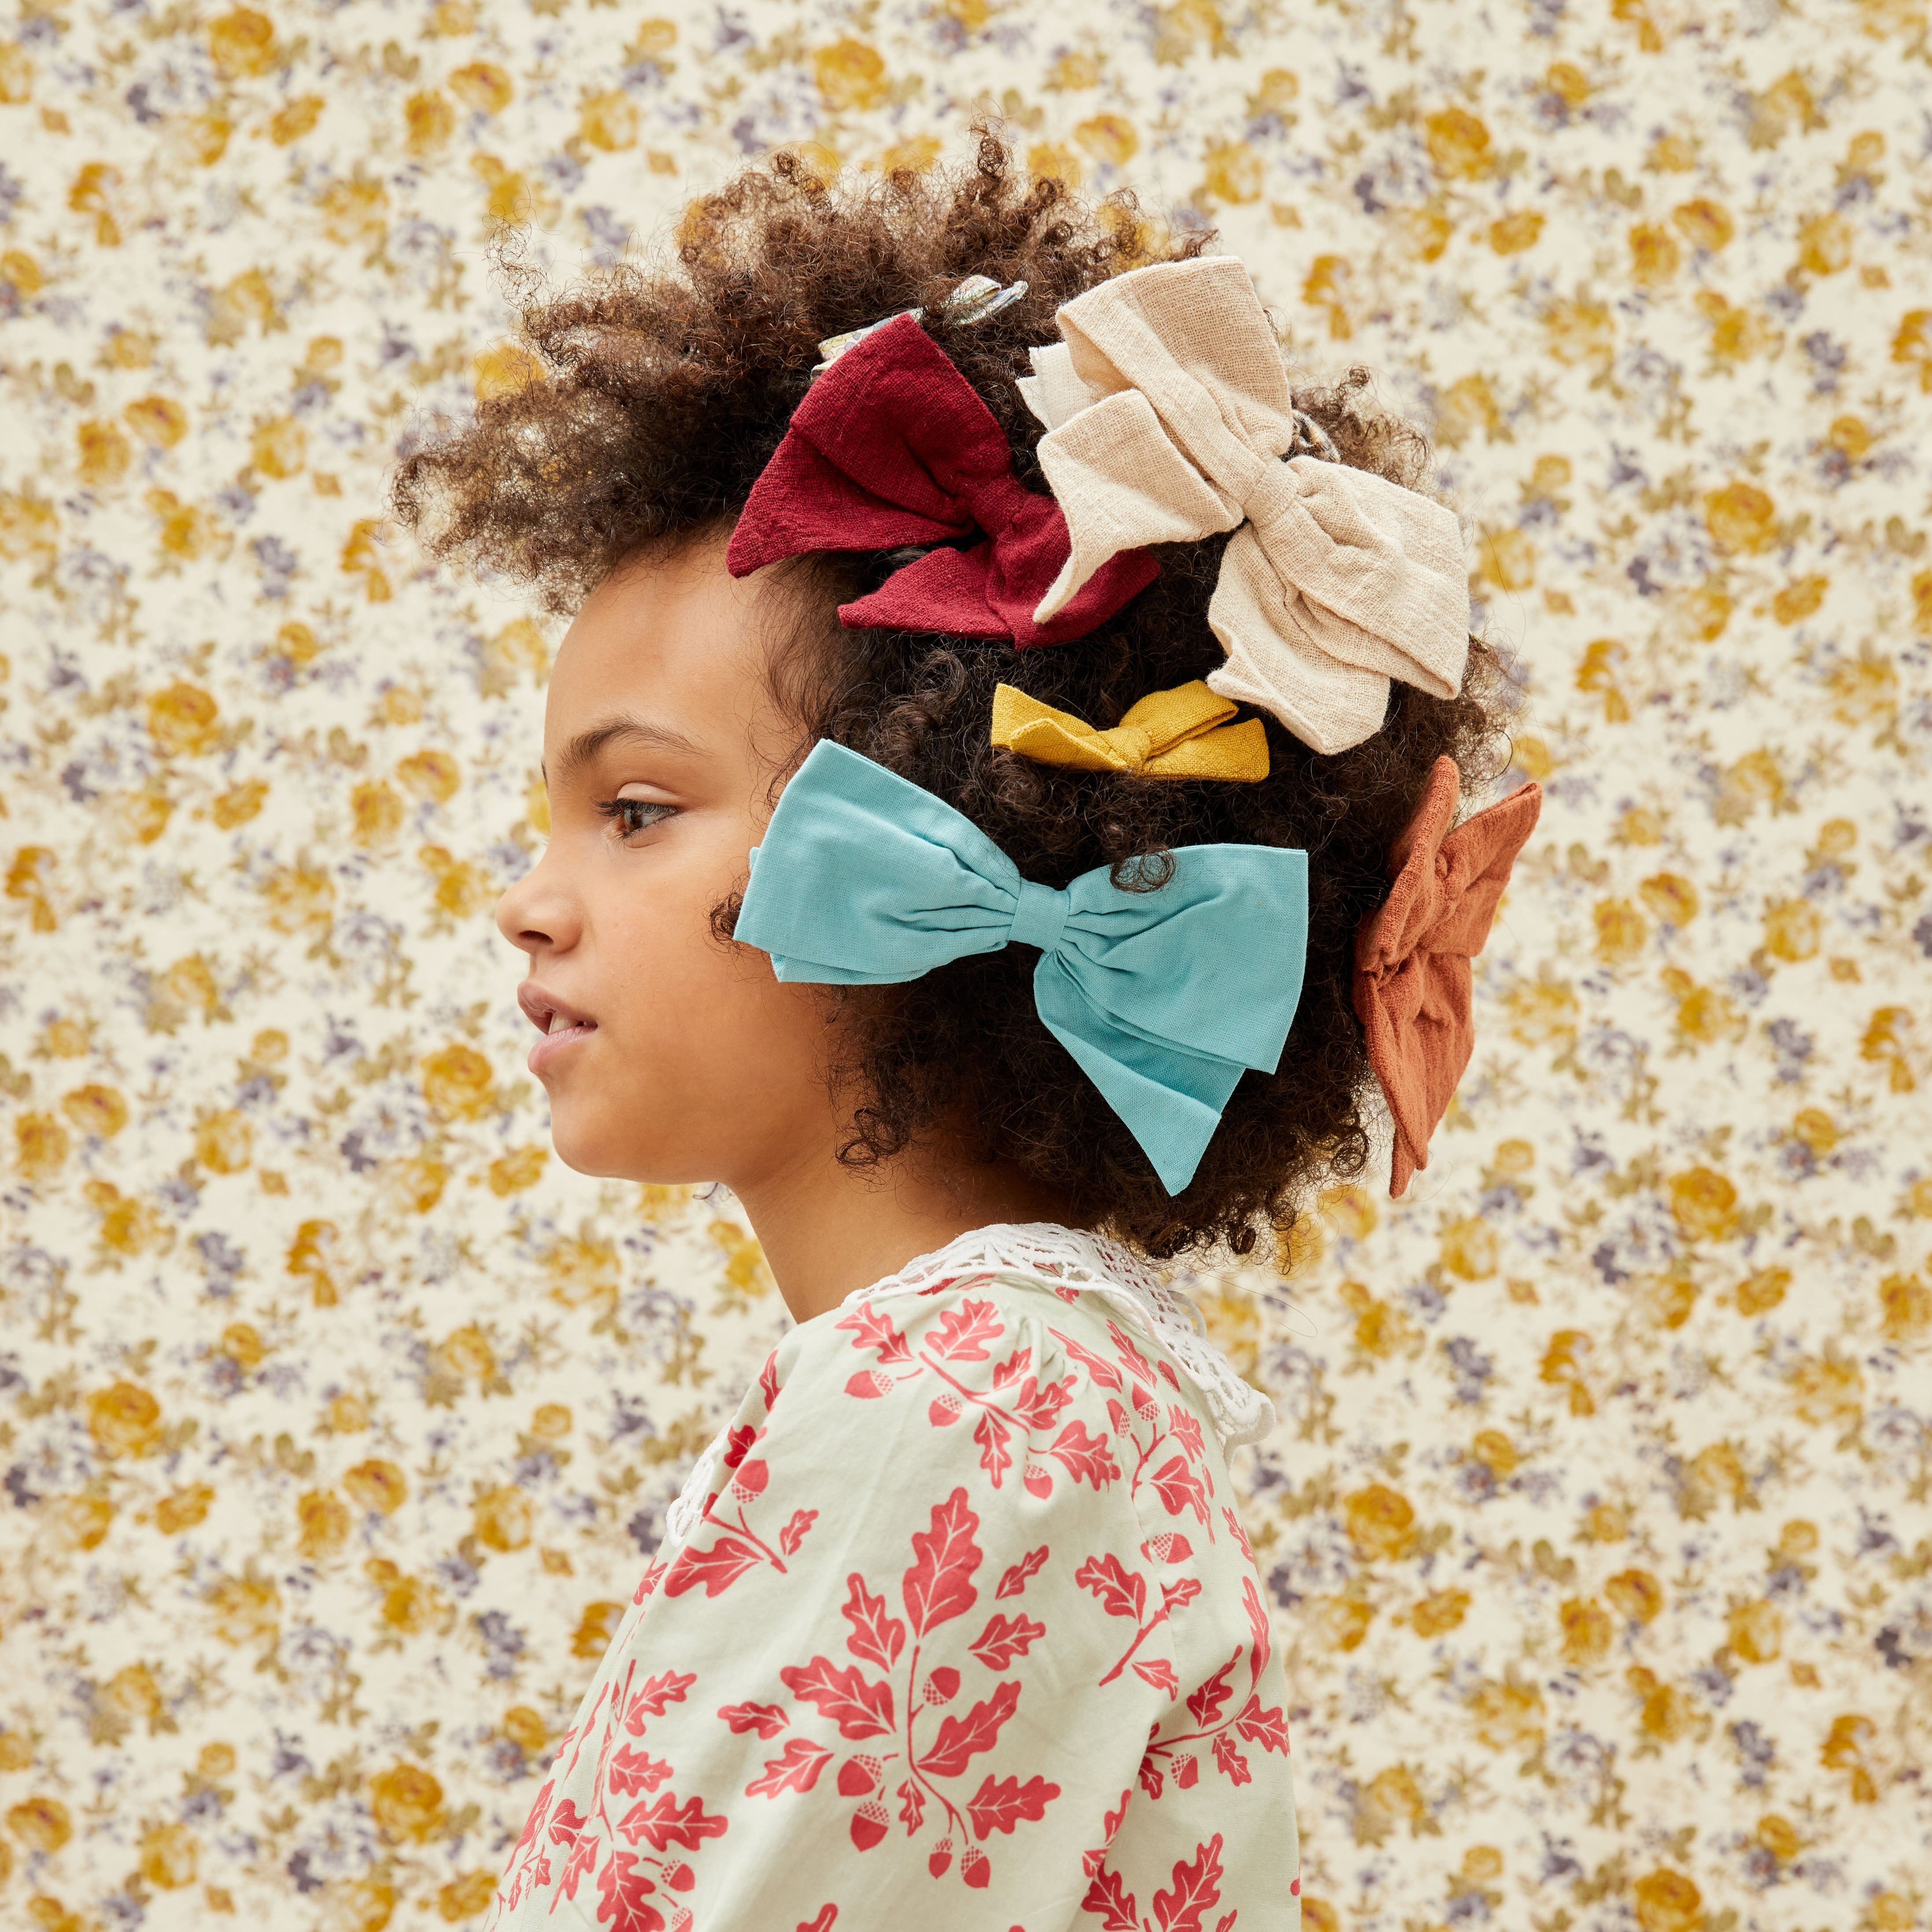
Stylist Elissa Velluto piled on the bows this holiday during our Maison Me holiday shoot. For a look that works at Grandma's house or a visit to Santa, our creative team suggests "two small matching bows on each side of the hair or even three similar mix-and-match bows with hair pulled back to one side.
Top the Tree
Decorate the Front Door
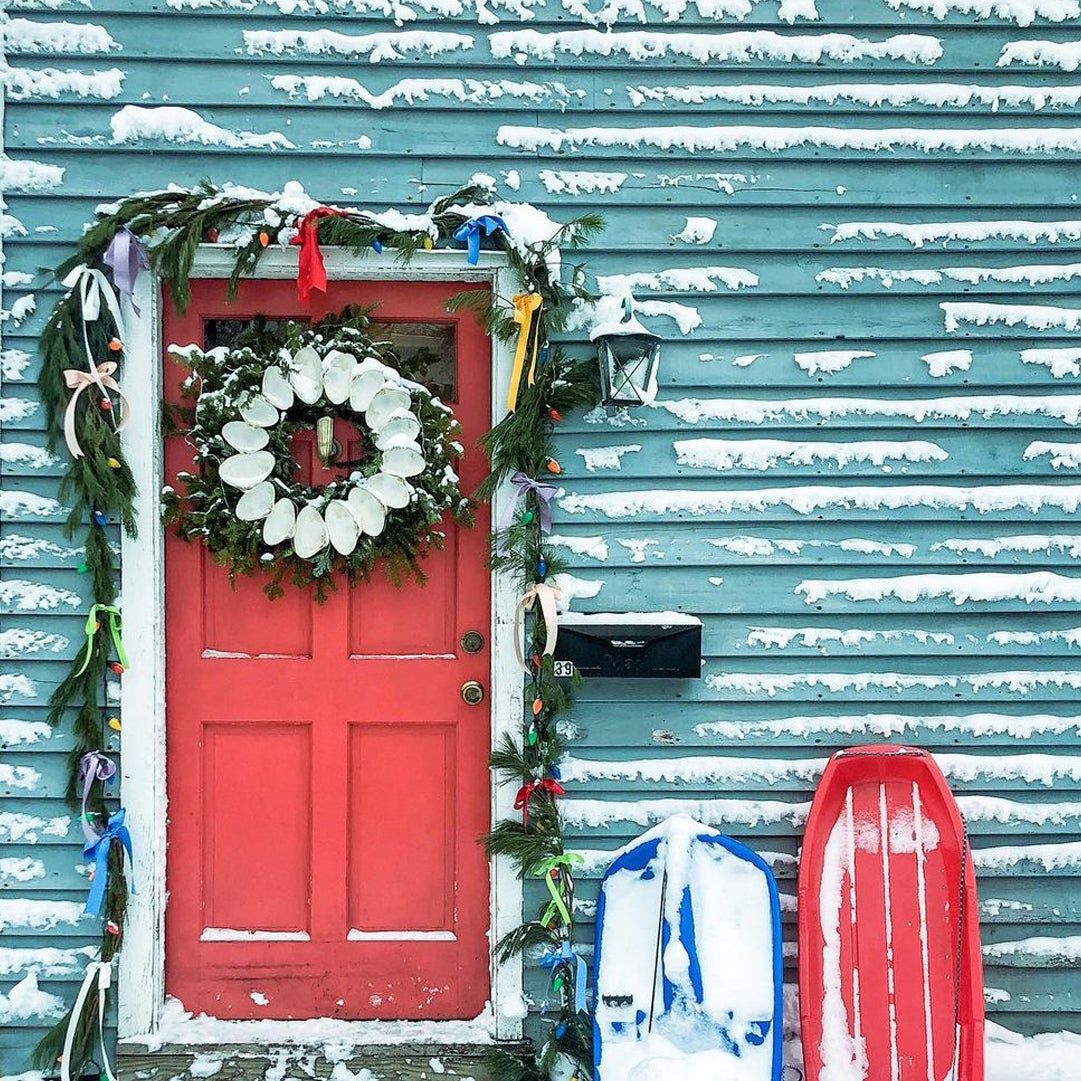
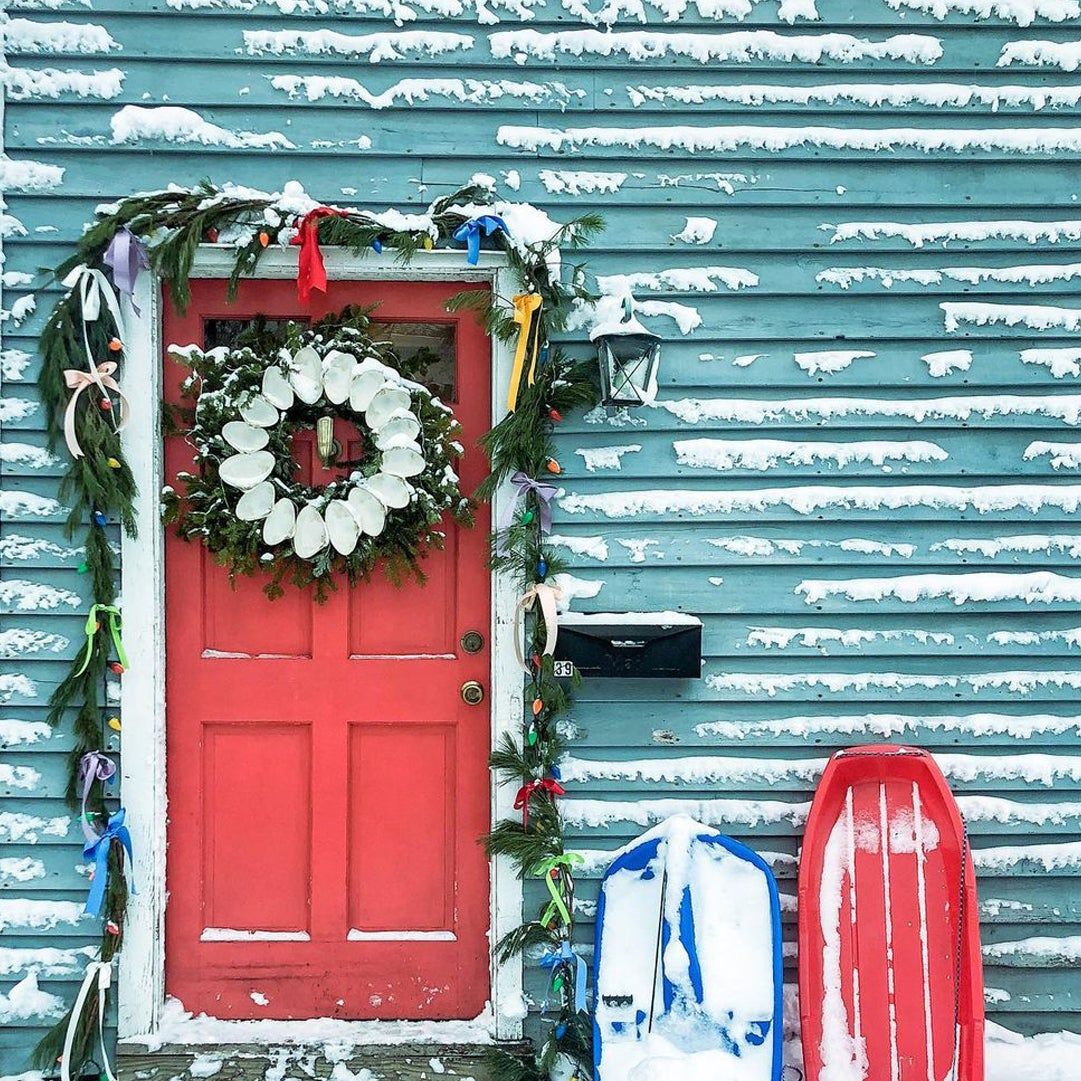
Katy paired her evergreen garland with long, skinny ribbons and old-school Christmas lights to bring a pop of color to her front door. We love how it looks with the clamshell wreath, a nod to her town's fishing history.
Add to Ornaments
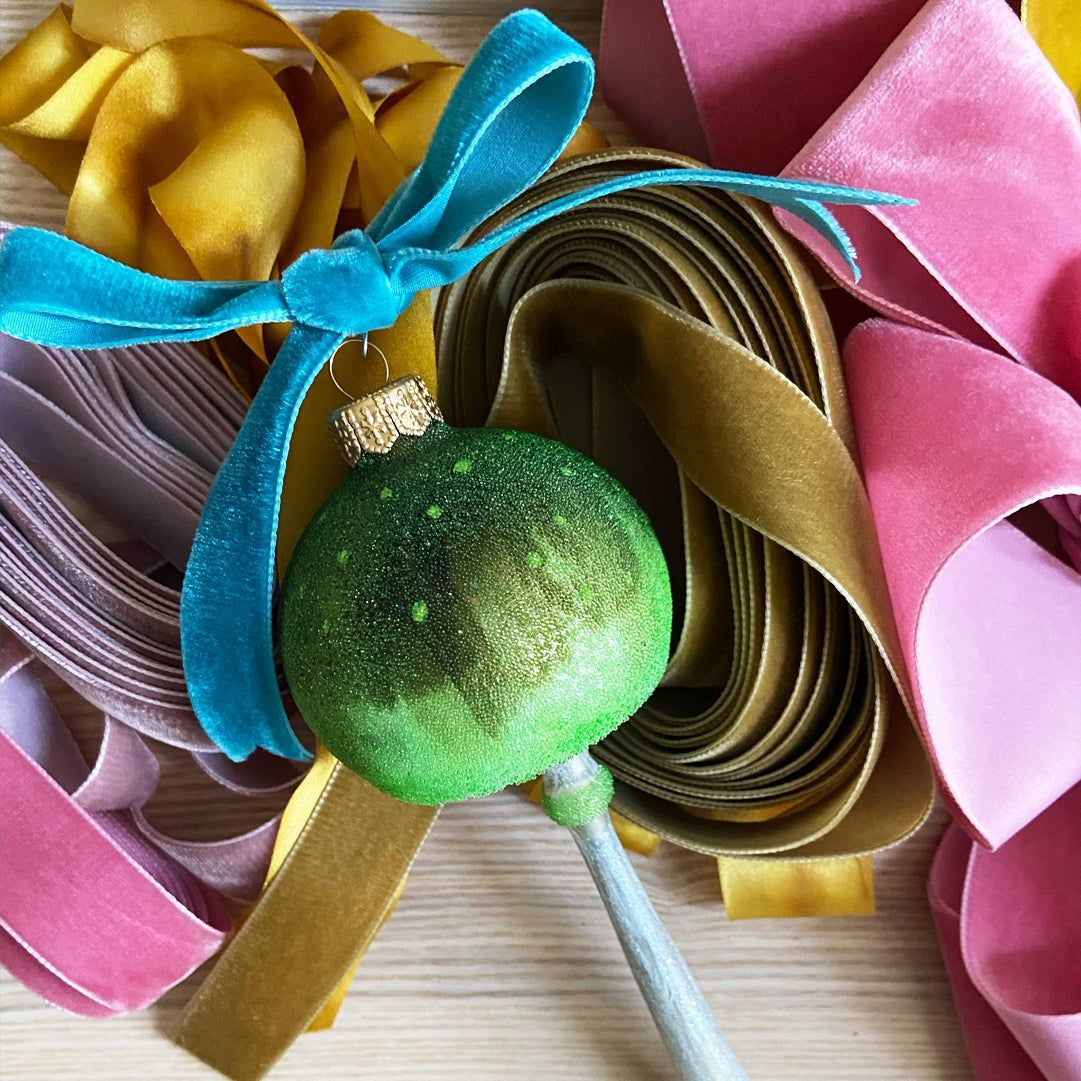
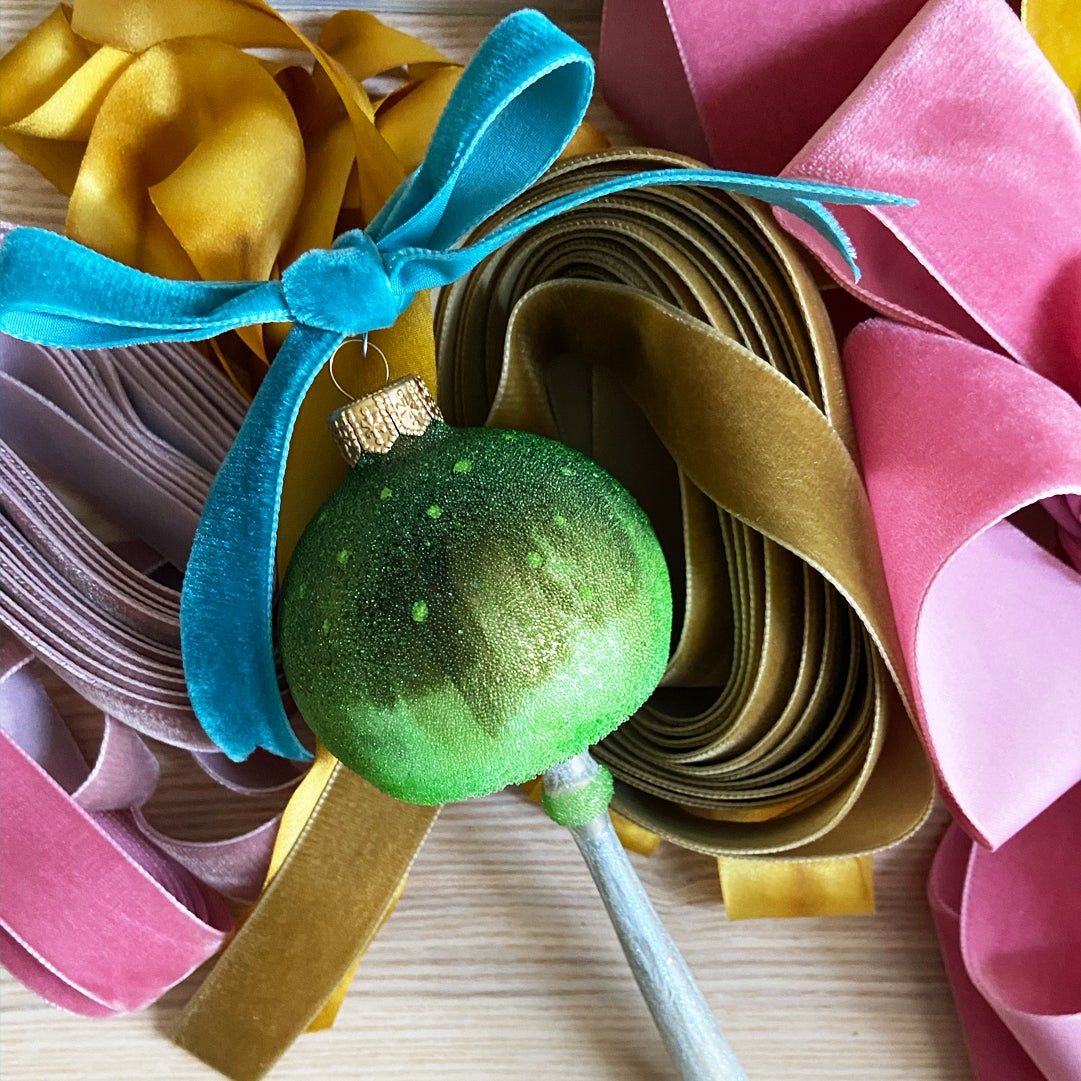
While you can tie a bow directly on the end of branches why not also hide all those weird little wires with a perky velvet bow? Tie a bow, slip the wire through the center and hang the ornament from the tree.
How To Tie the Perfect Bow
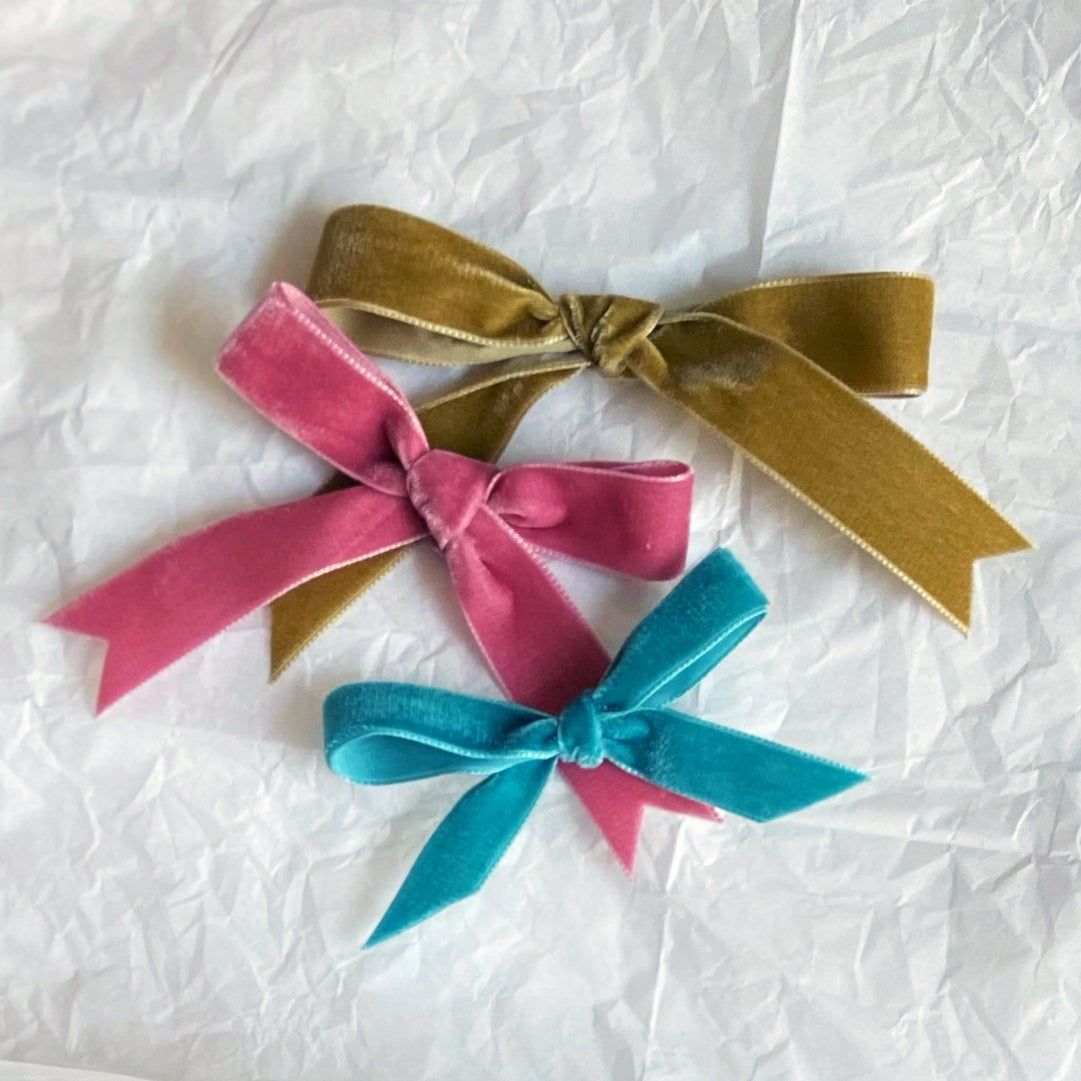
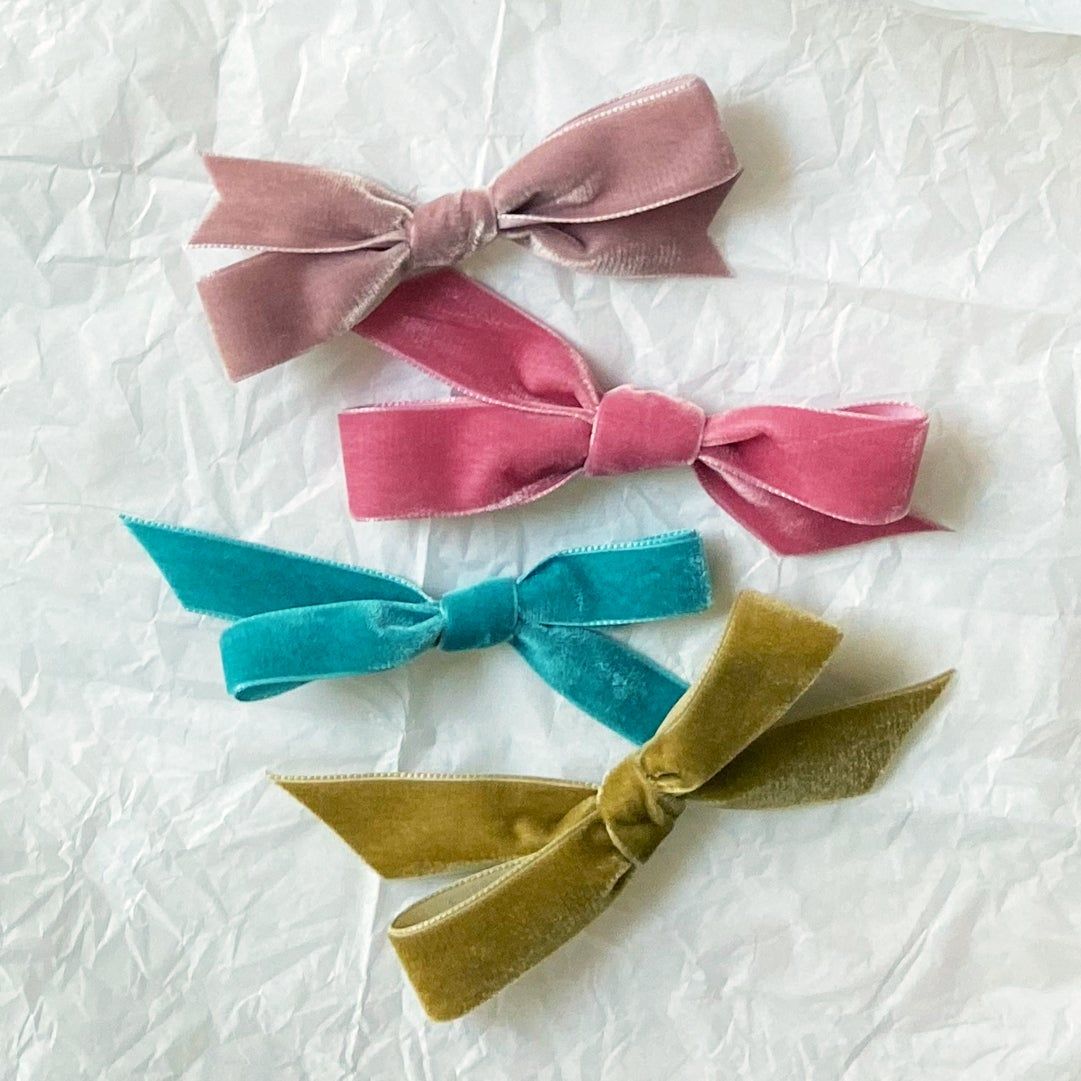
Before we start, it's totally normal to *not care* about tying perfect bows, in which case, stop reading now, pull out whatever random ribbon you have around the house, and go to town on your tree or wreath or even your (willing) child.
But if you want to go for it, think about editing rather than a new magical way to tie a bow. First, tie the bow however you usually would. Then adjust it, loosening and pulling the loops and tails where you want them, twisting the ribbon as you go to show its "good" side. You can have a heavy hand–it won't break!
If you're still stumped, try this florist trick: Cut a length of ribbon and fold it into thirds. Then, use wire or a small piece of ribbon to cinch the center of the ribbon together, pull the tails down, and fluff the loops.
There are a few elements you can switch up to get different looks:
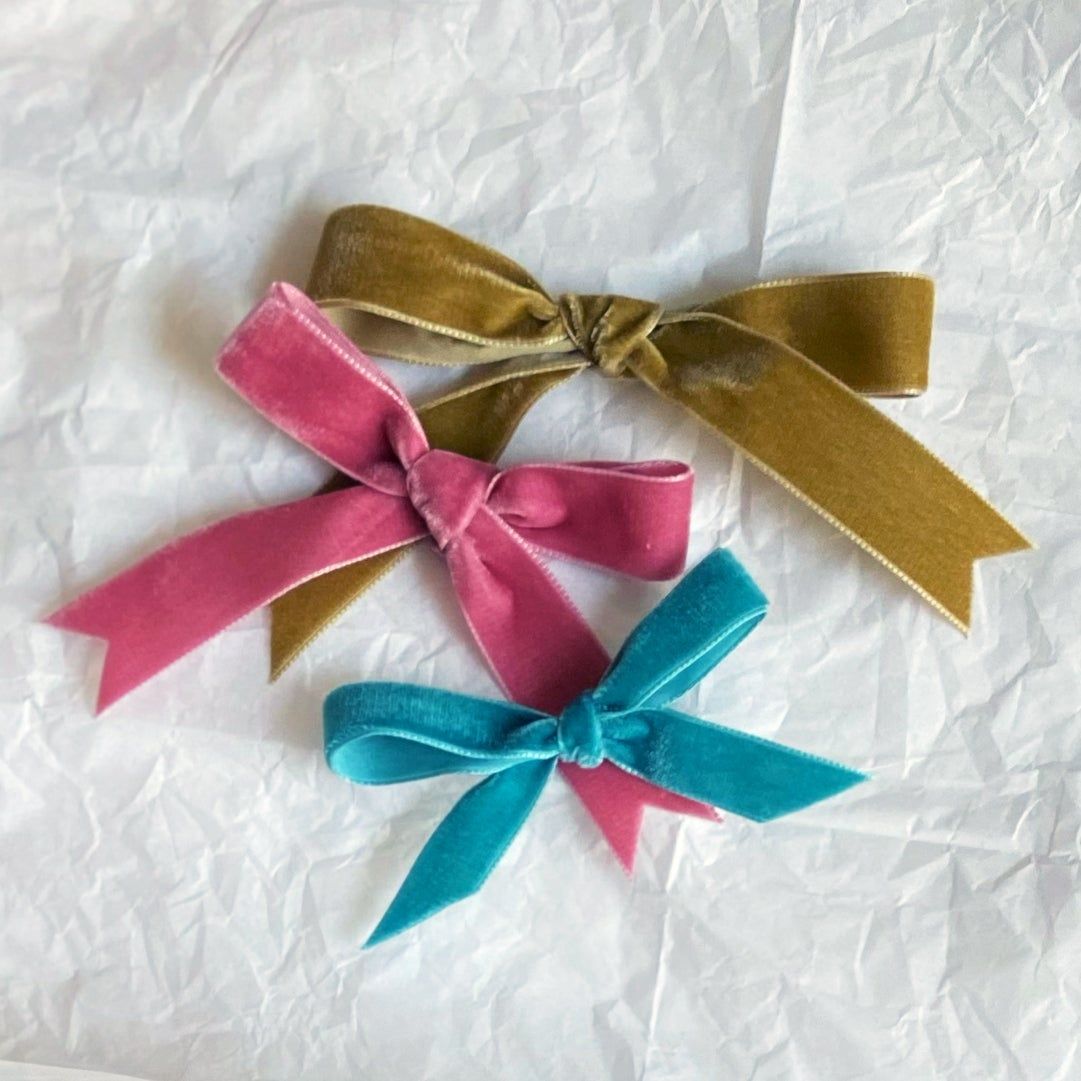
The Shape: Smaller bows tend to have loops that go in opposite directions, diagonally across from each other. Larger, heavier bows typically have loops on top with ribbon tails hanging below.
The Material: Velvet and cotton will create a stiff perky bow, while silk and satin make softer, looser bows.
The Ends: Trim the ends with a clean diagonal cut or fold the ribbon in half and cut at a 45-degree angle from the fold to the outer edges to create two points at the end.
You've tied The Perfect Bow.
Hero photograph was shot by Johnson Lui and styled by Elissa Velluto
Tree and garland photographs by Katy Elliot.