Camp Maisonette
Make Bracelets with P.S. - I Made This!
- Written By
- Erica Domesek
Step One
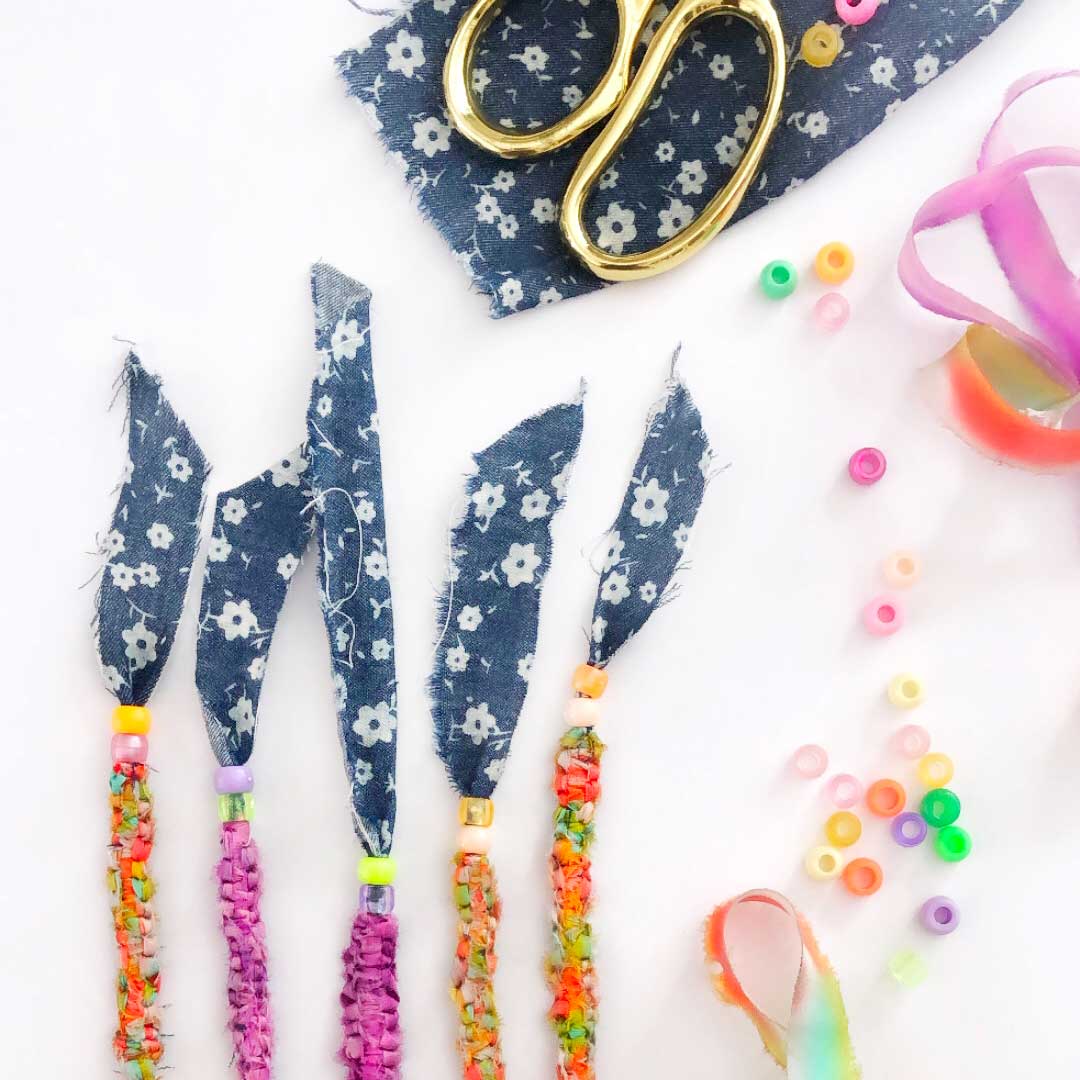
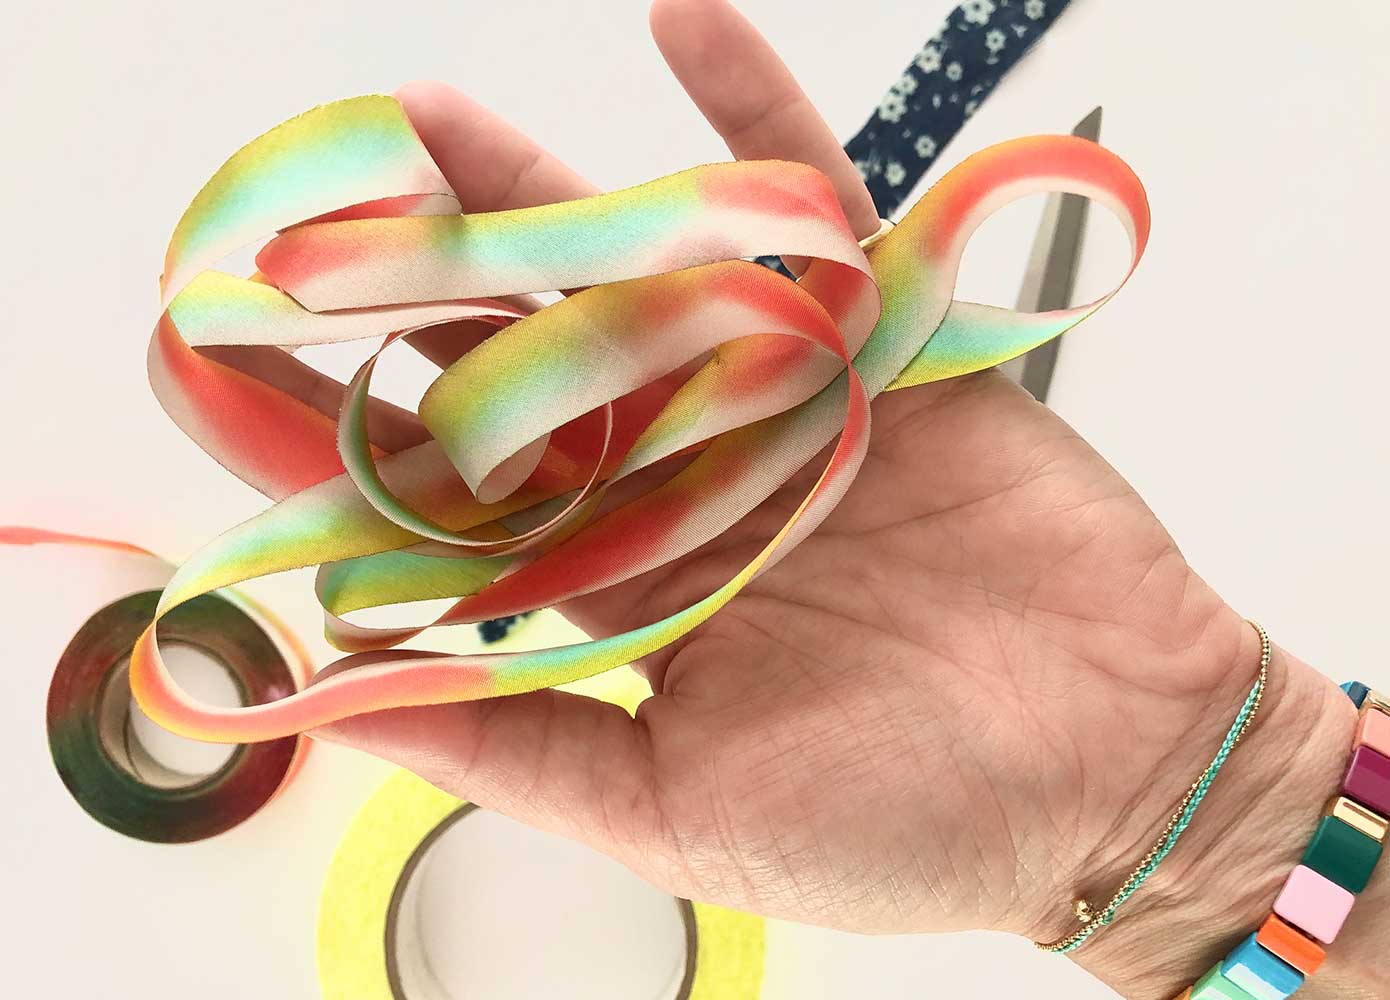
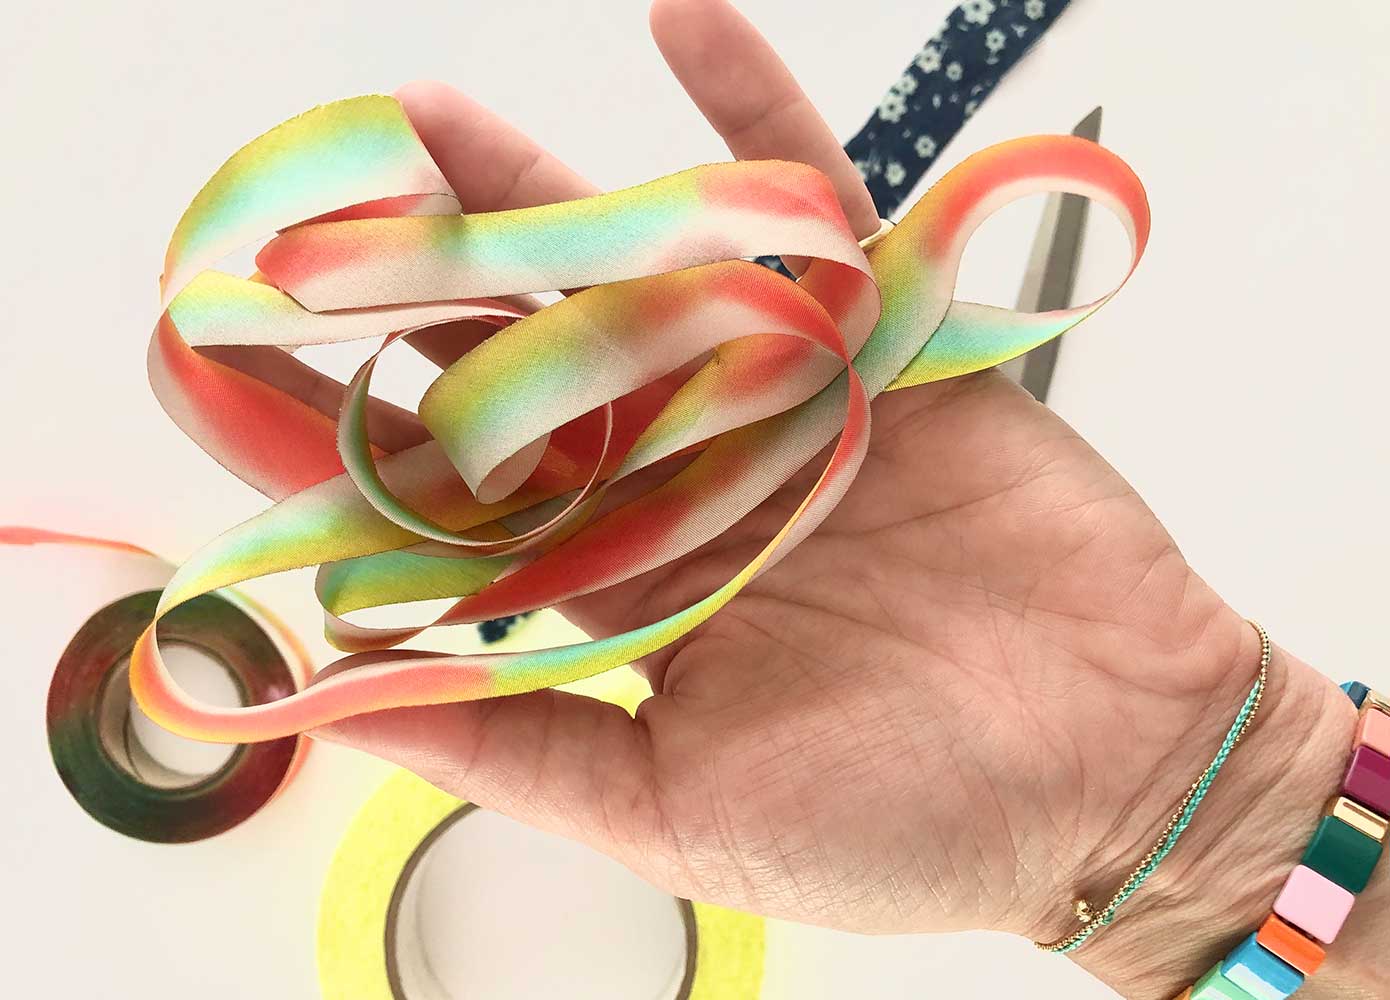
Use scissors or a rotary cutter to cut strips of fabric that are 1 inch wide and about 1 foot long. Cut a piece of ribbon, string, or other narrow strip of fabric about 3 feet long.
Step Two
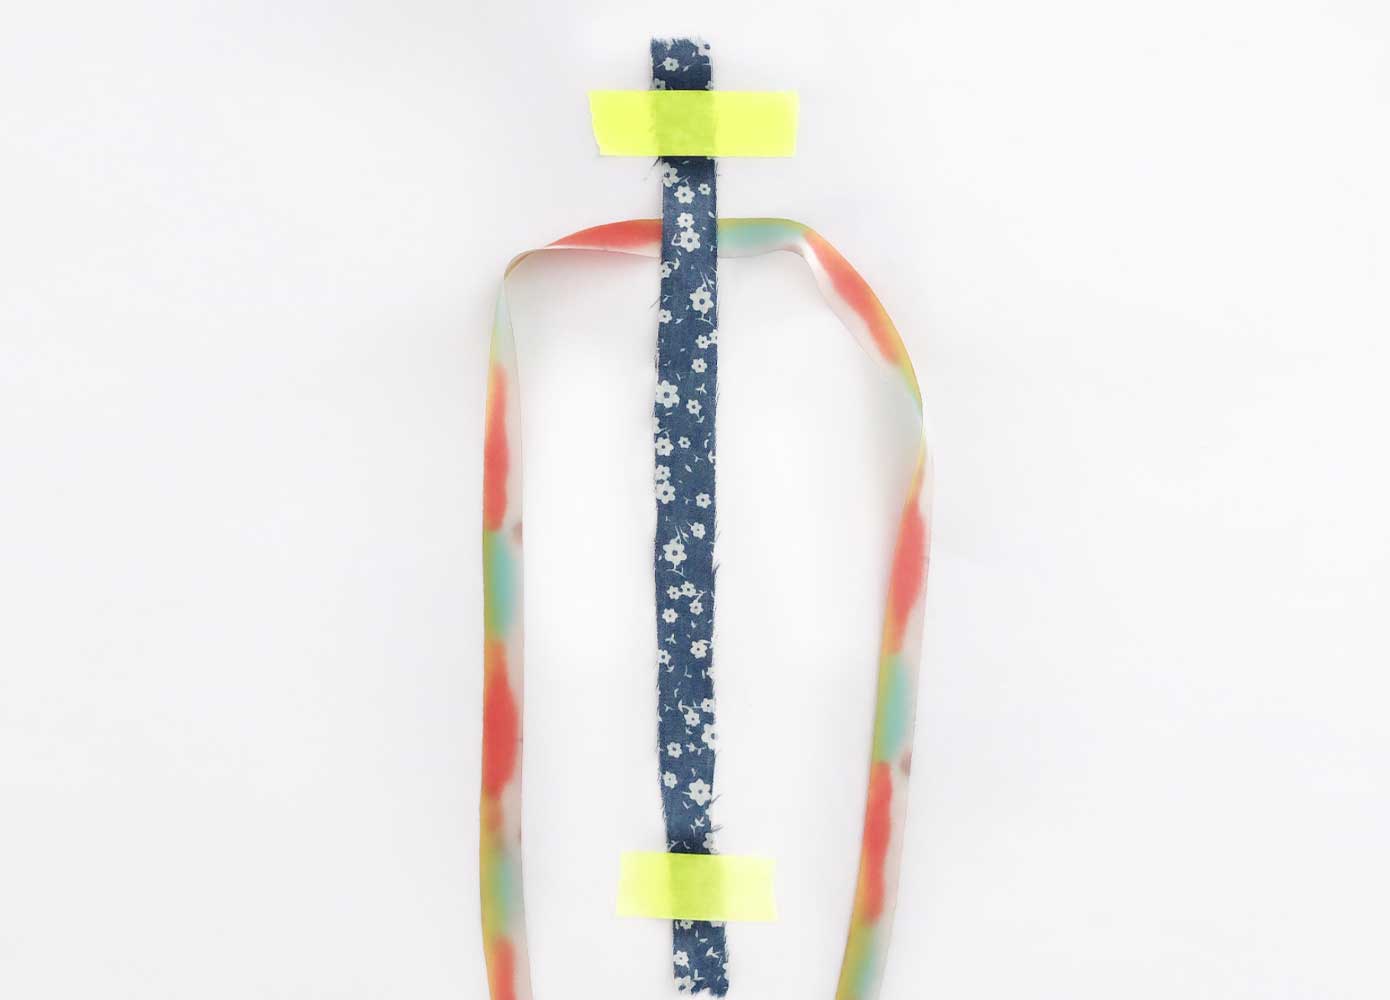
Tape the top and bottom of a fabric scrap to your work surface. Then, about 1/3 of the way down the fabric, thread the ribbon underneath so that half of the ribbon is on either side of the fabric.
Step Three
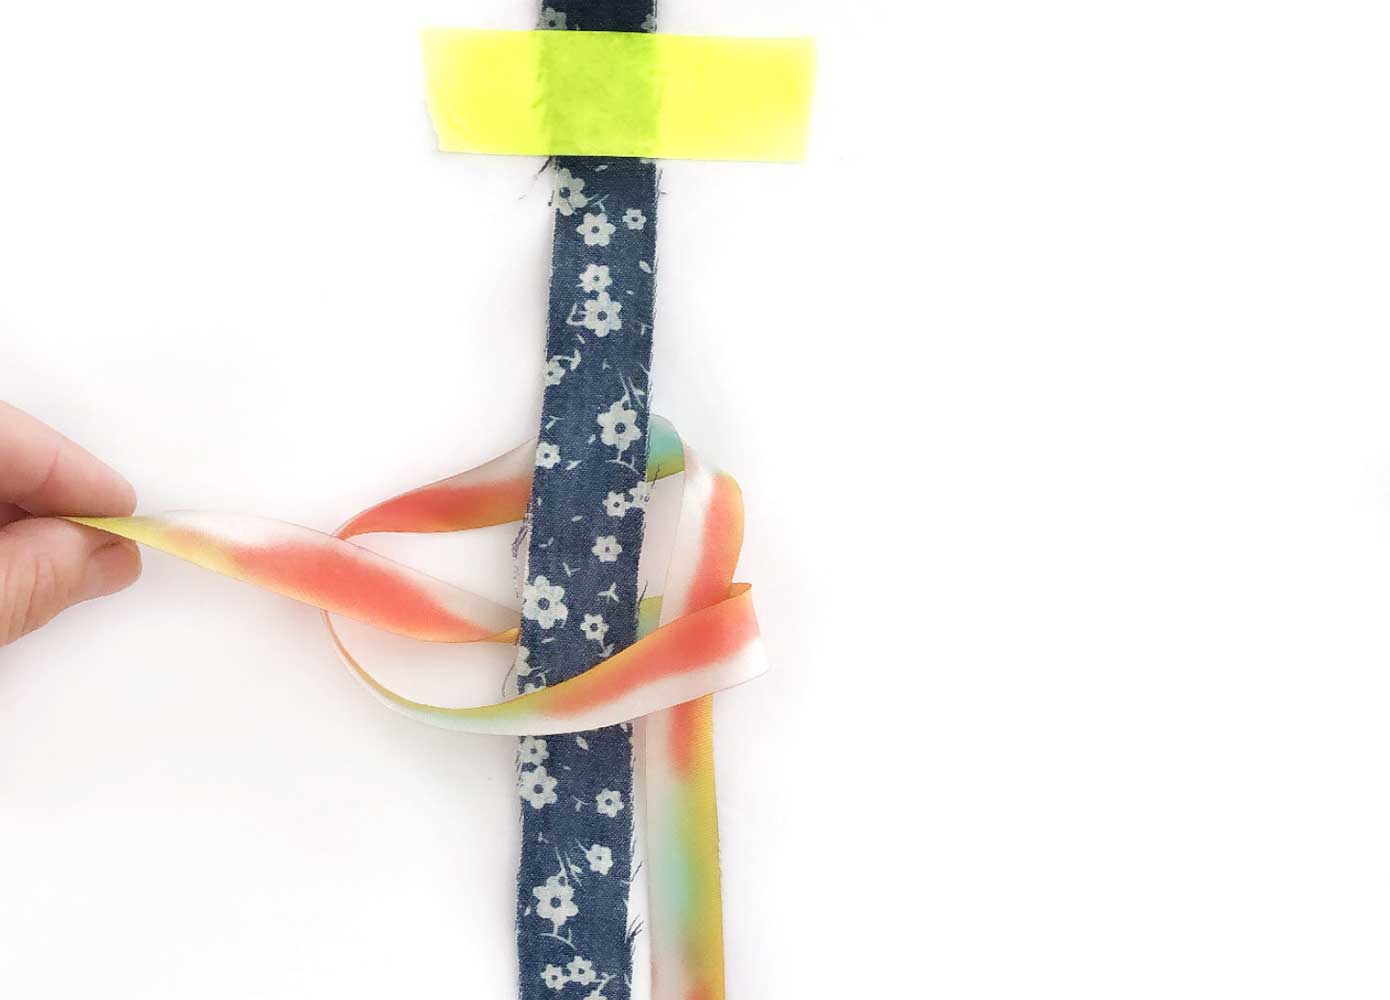
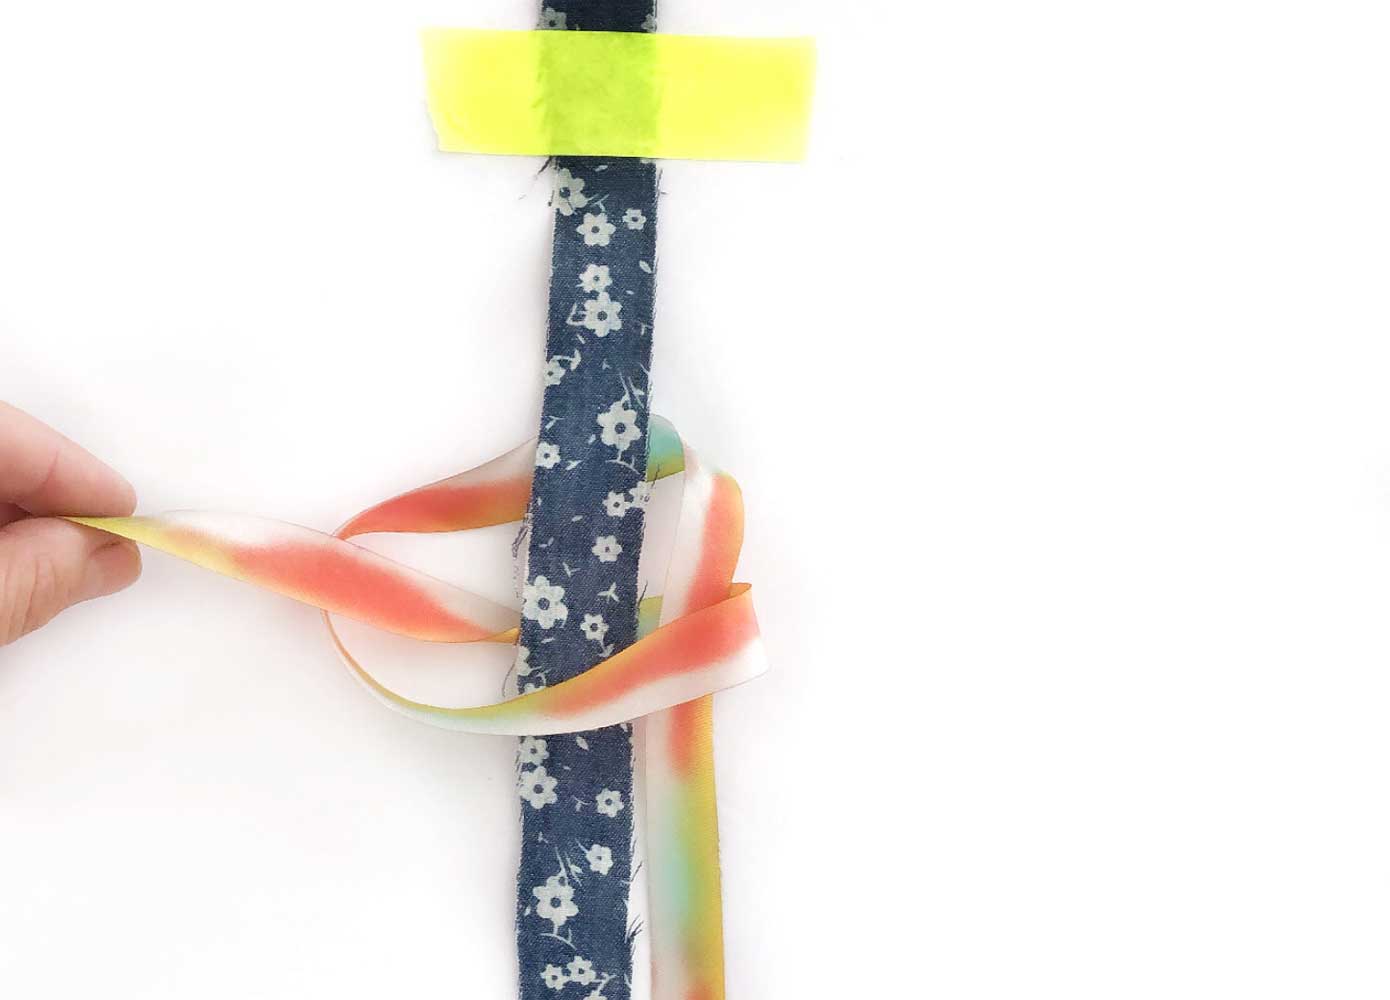
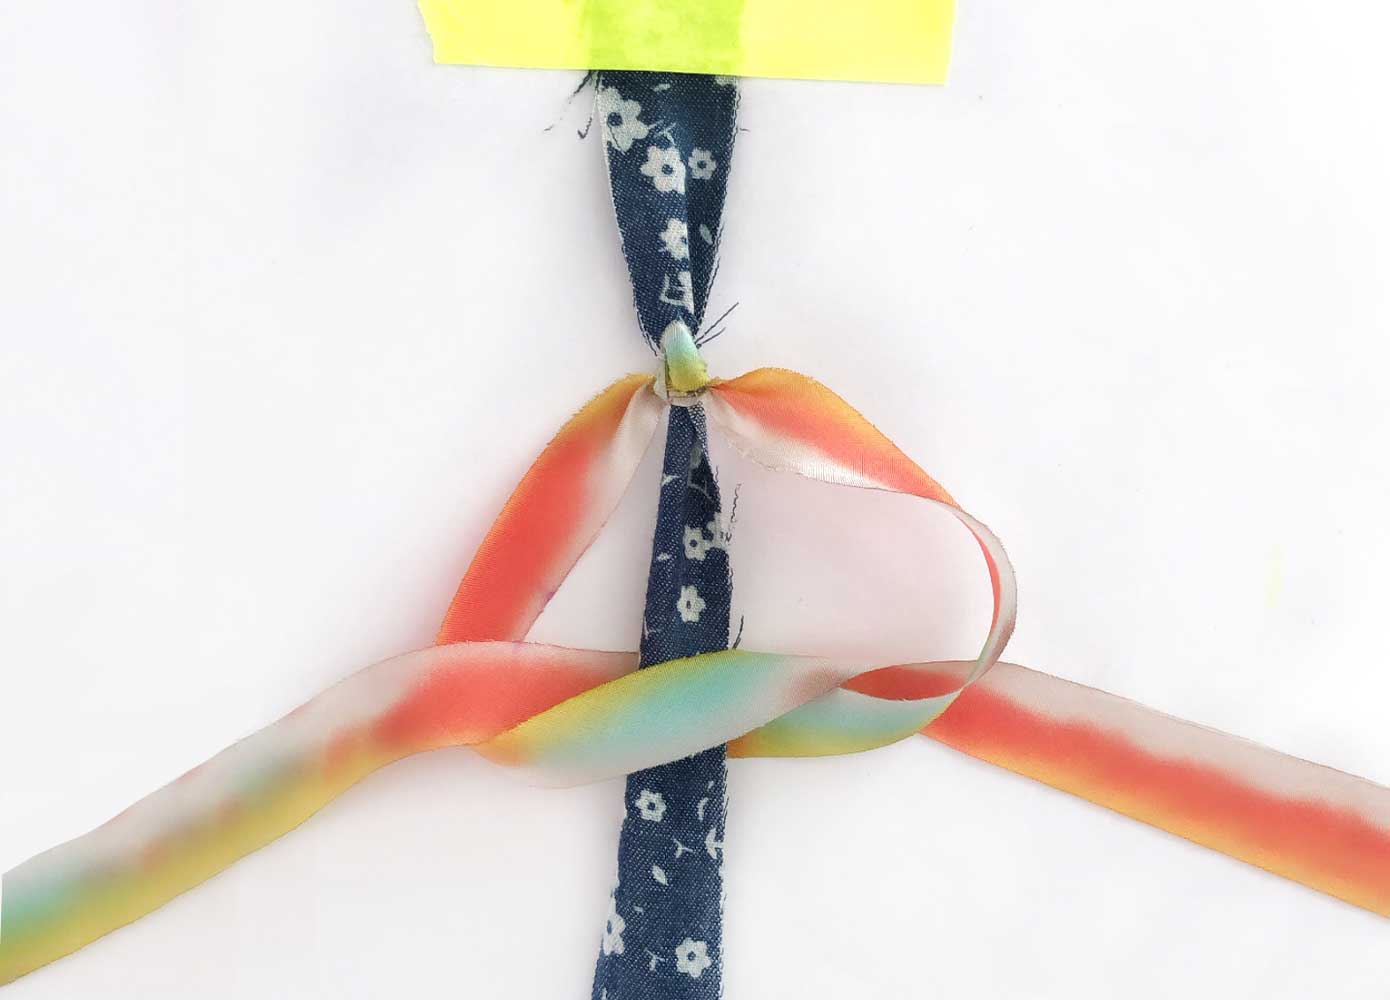
Hold the left piece of ribbon and cross it over the fabric strip and the ribbon that’s hanging to the right of the fabric. Then loop it under the ribbon to the right as well as fabric and thread it through the loop to the left of the fabric.
Step Four
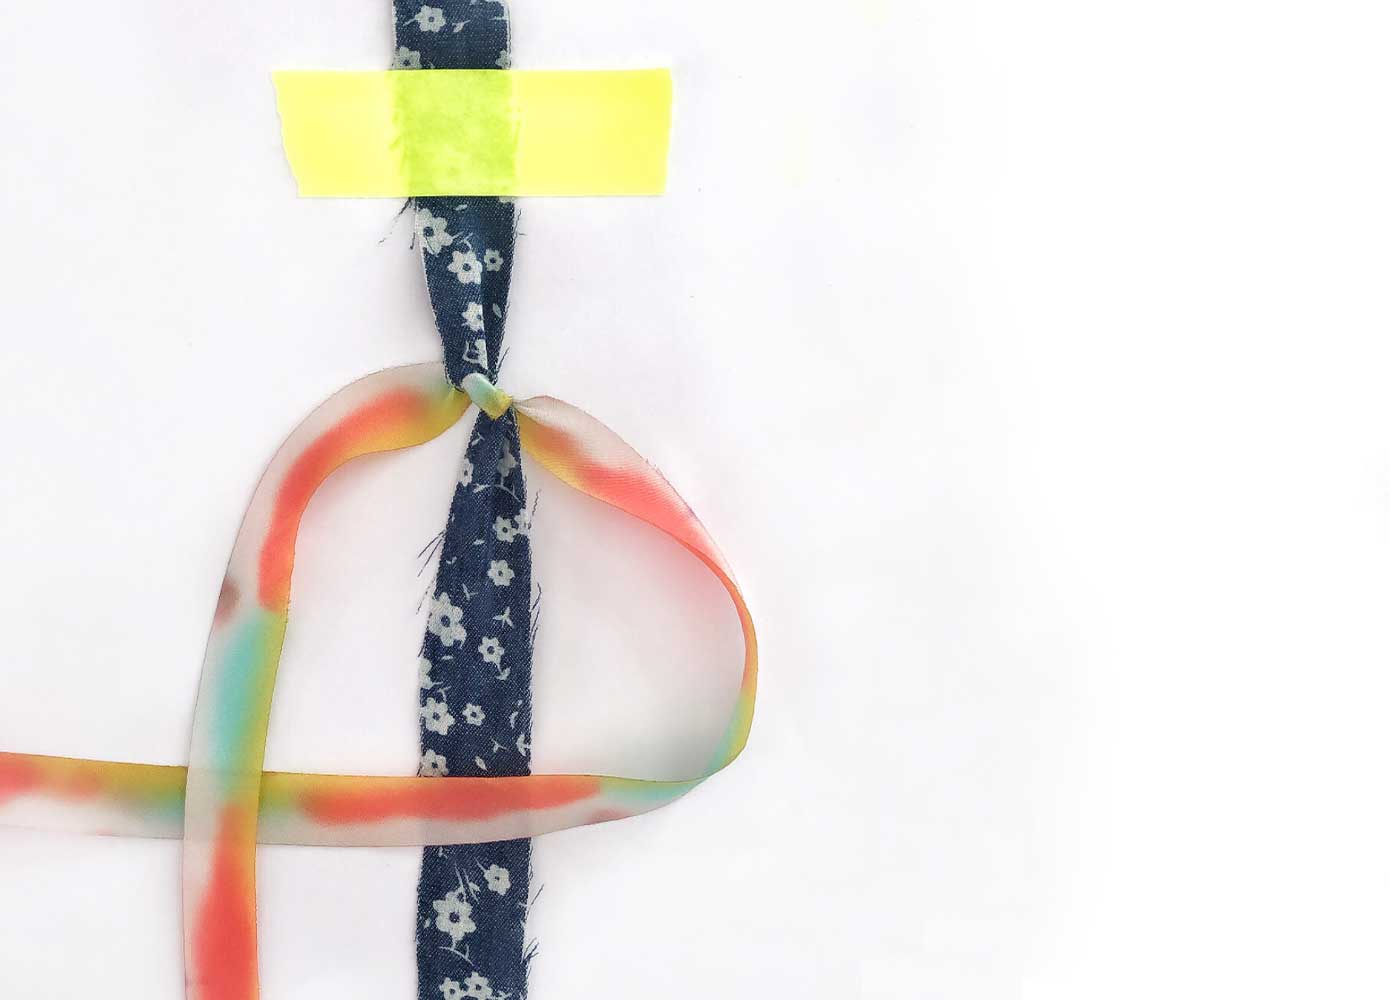
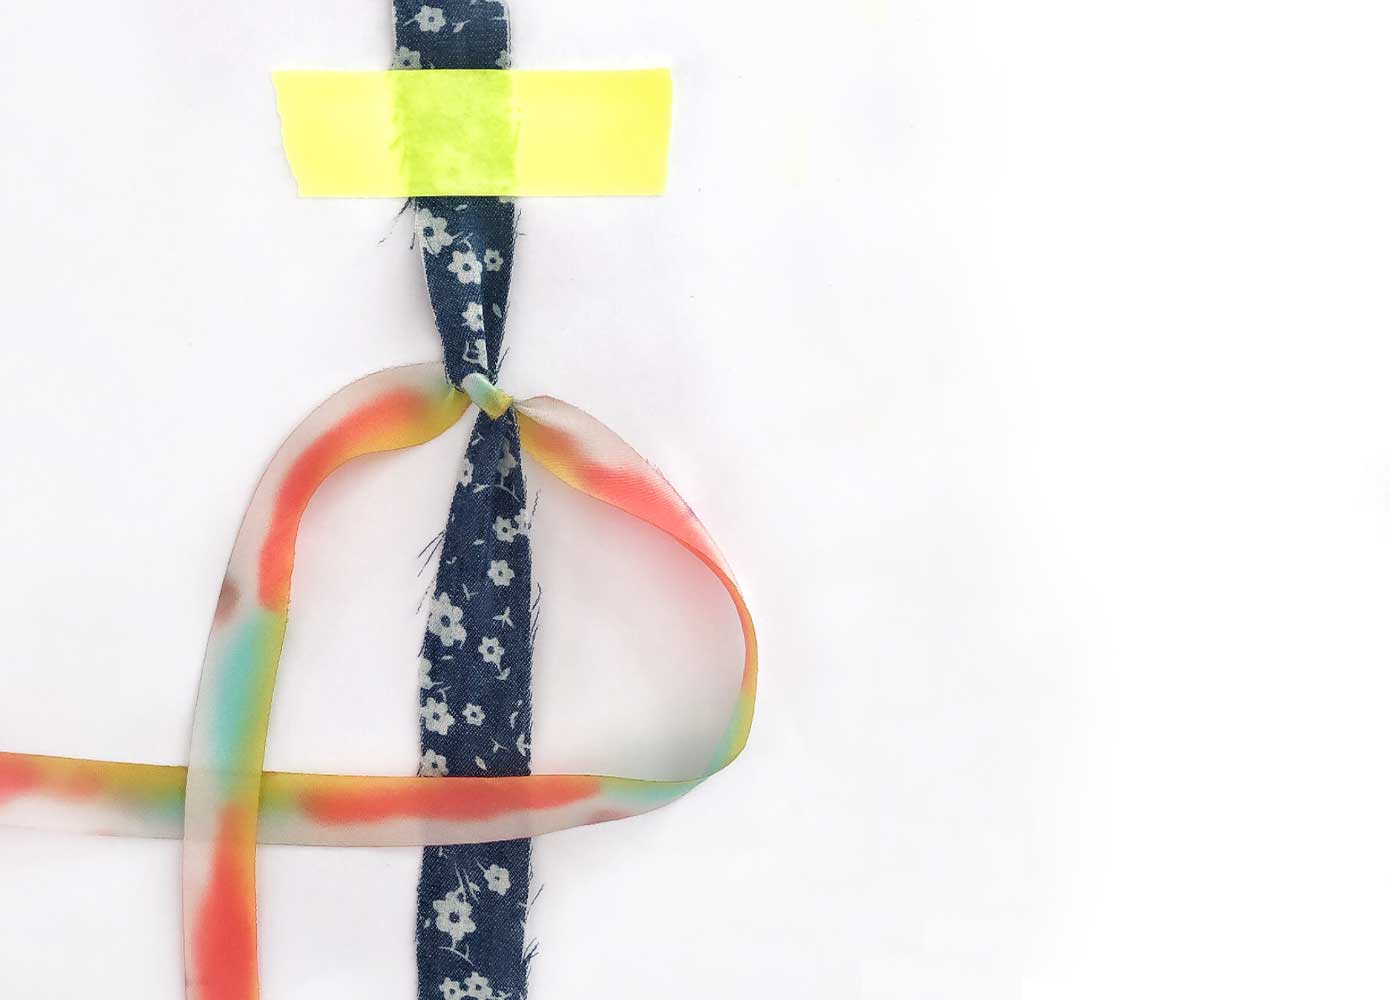
Tug evenly on both sides of the ribbon to tighten the knot. Next, use the ribbon to the right of the fabric to create a “figure four” shape, crossing it over the fabric and under the ribbon to the left of the fabric.
Step Five
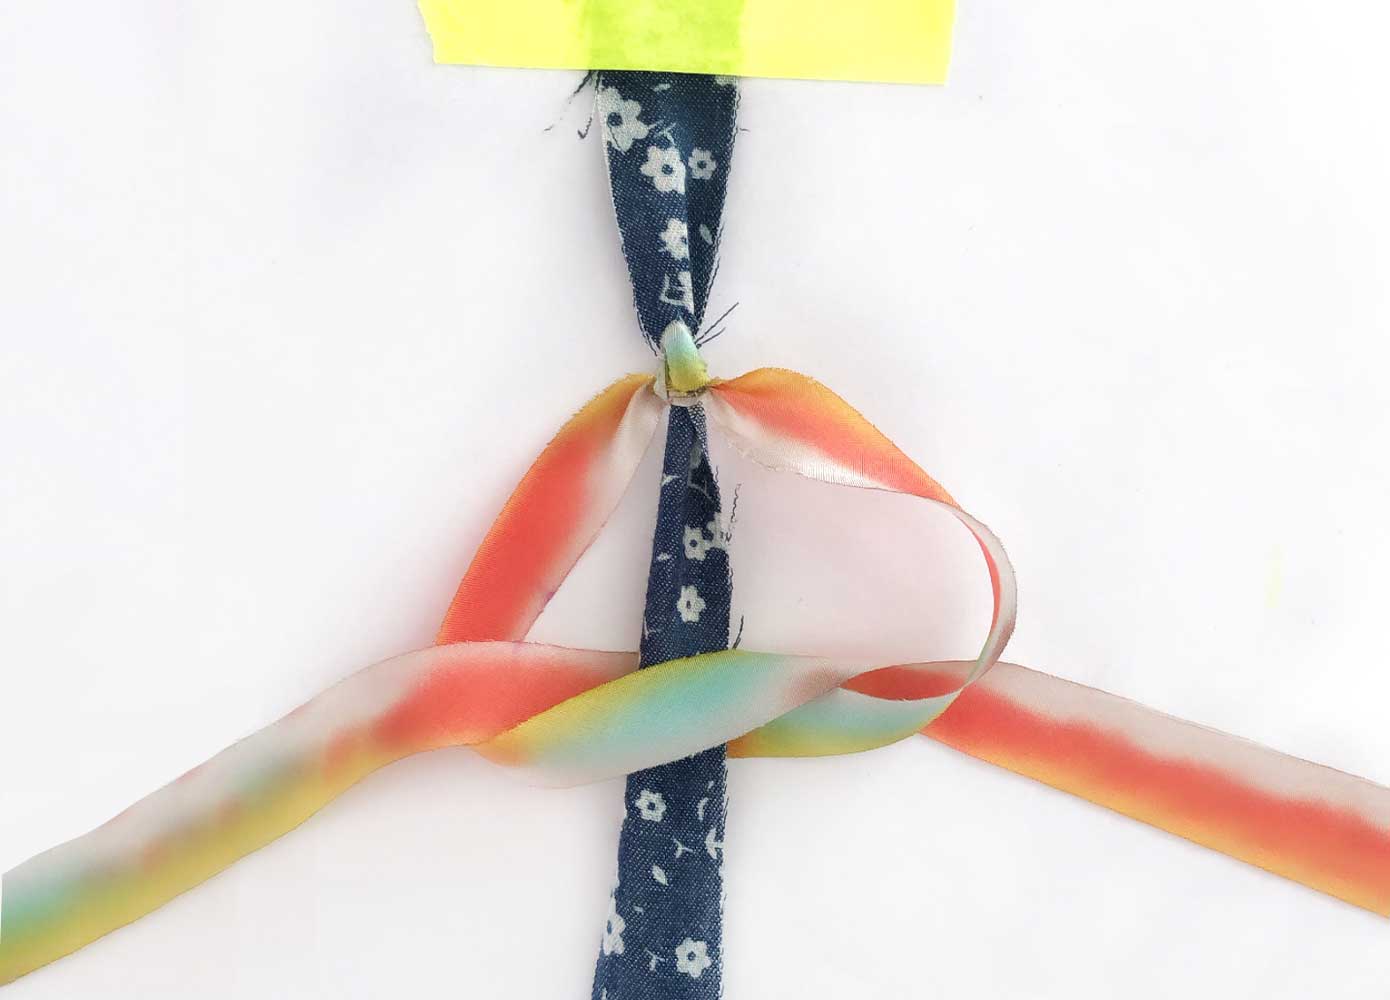
Bring the left piece of ribbon beneath the fabric scrap and through the loop to the right, pulling evenly on both sides to tighten. Continue making knots, alternating sides as you go, until about 2/3 of the fabric scrap is covered or you run out of ribbon. Make sure you alternate sides for knots as you go for a flat bracelet. If you see a spiral forming, that means you are repeating knots on the same side.
Step Six
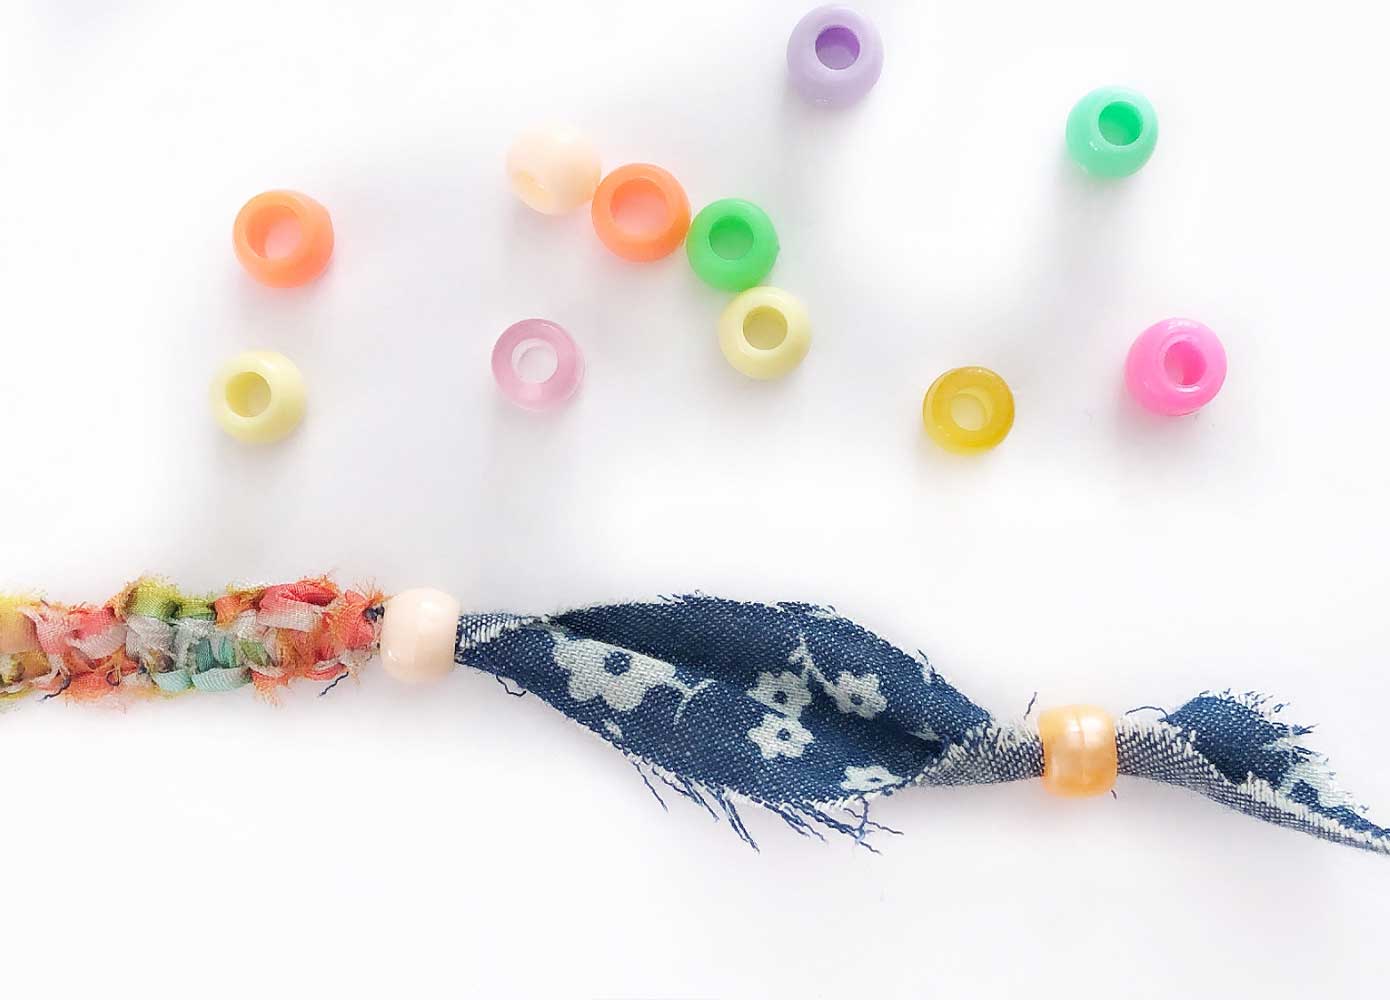
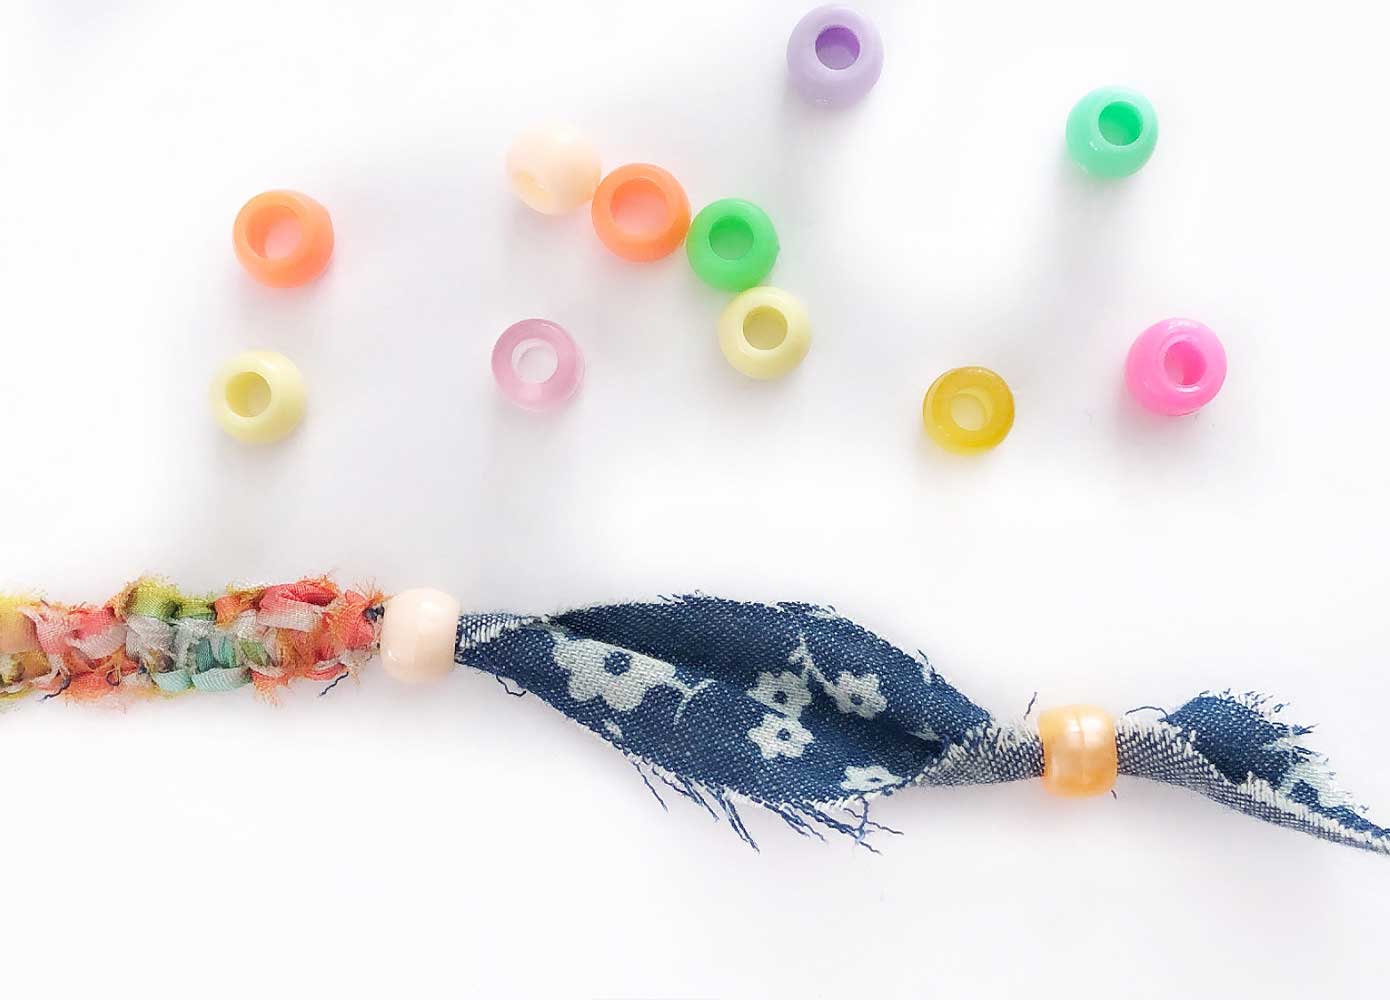
Double knot the ribbon to tie off, and then cut any remaining ends of the ribbon. Add beads to both ends of the bracelet and make additional knots to secure if you wish. Trim the ends of the fabric scrap, and then tie them on and show them off!
