Parental Arts
The Sweetest Day of the Year
We fell for @poorolivia after seeing photos of her envy-inducing family road trips and handmade Halloween costumes. So we asked this mom of three to help us get ready for Valentine's Day.
- Written By
- Olivia Poor
Valentines for the whole class
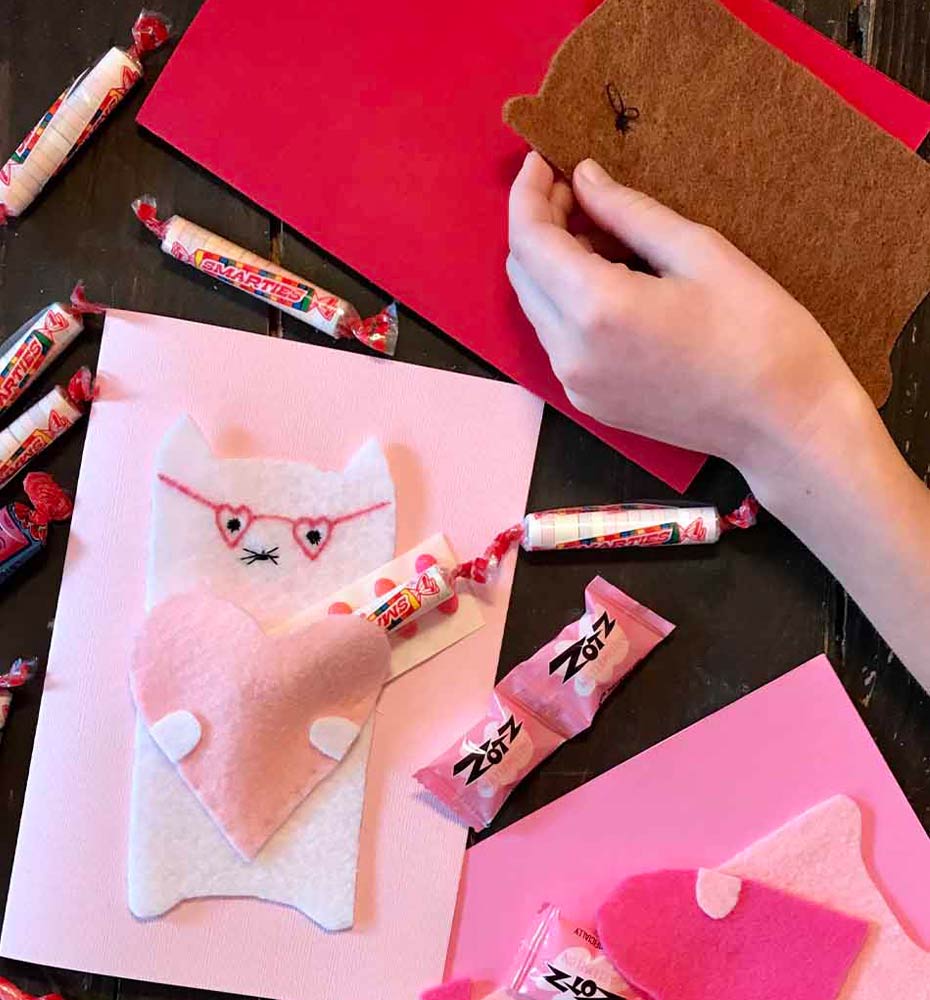
Meet Cozy Critters. These fuzzy friends are the best gift-givers! They each have their own personality with glasses and bows, and they’re armed with sweets for eager classmates.
Materials
Heavy-duty felt
Scissors
Sewing supplies
Felt-tip markers
Glue
Heavy card stock
1. Cut animal shapes, hearts and paws out of heavy-duty felt.
2. Older children can try their hand at sewing eyes, noses, mouths and whiskers, but the little ones can use felt-tip markers to draw them.
3. Sew or glue the paws to the hearts, then glue the hearts to the bodies, leaving a space on the top to hide candies and other surprises.
4. Sew or glue the critters to heavy card stock. Once dry, fill their hearts with sweets!
For the breakfast table on the big morning
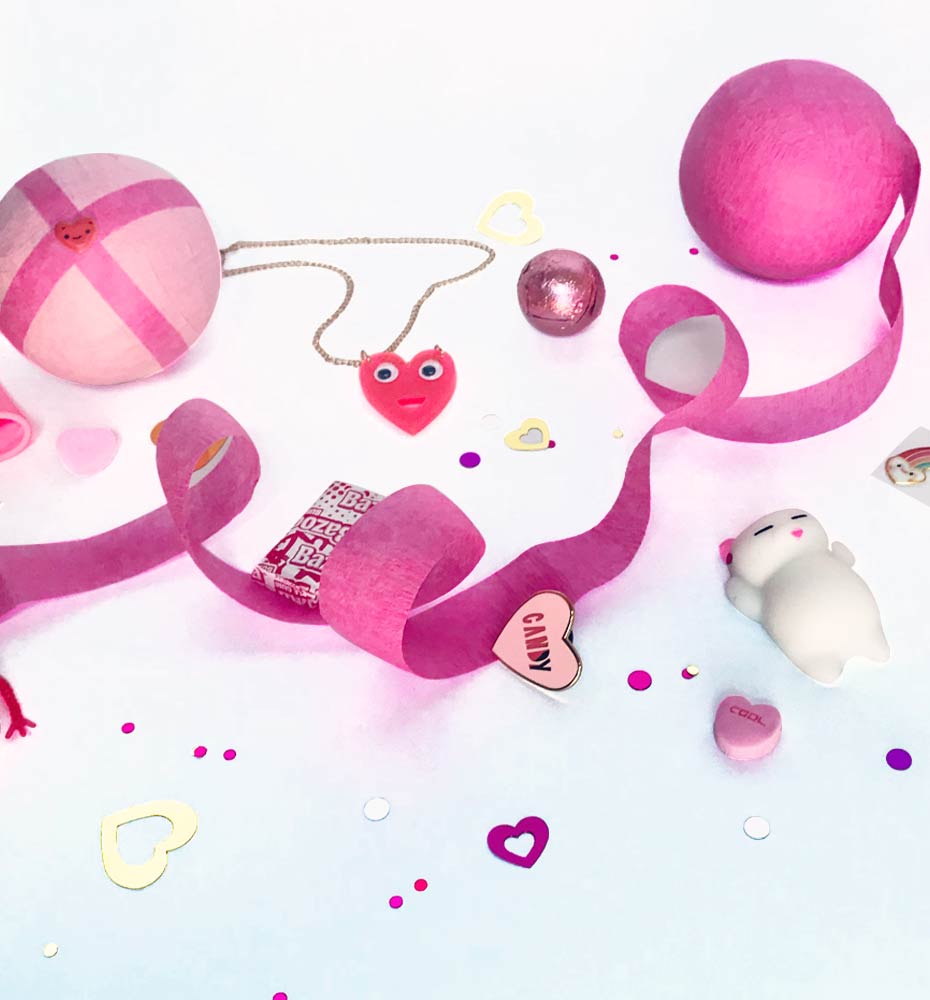
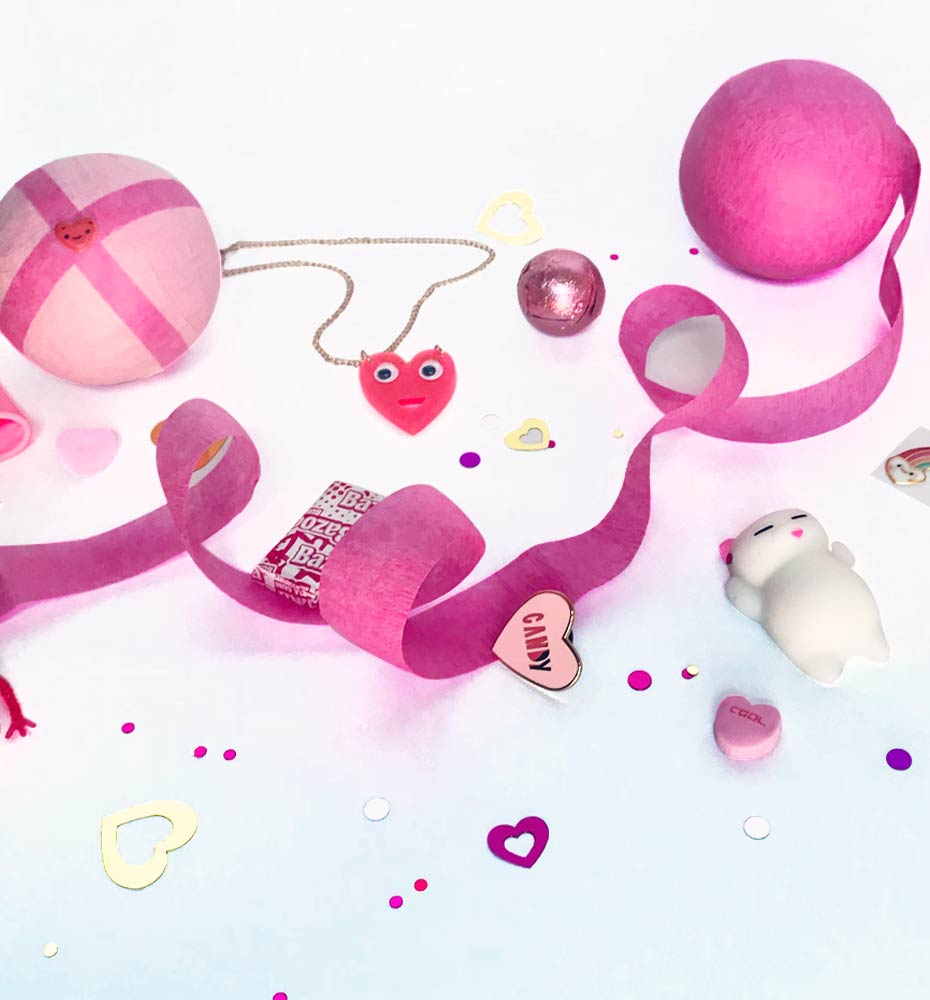
This is a gift that keeps giving. You can find all the treats you need for these fun surprise balls at your local party store. Think: stickers, candies, tattoos and erasers. What’s not to love?
Materials
Foil-covered chocolate, bouncy balls or bath bombs
Small gifts such as stickers, candies, tattoos or erasers
Stickers, ribbon or gift tags
Crepe paper
Scissors
1. Begin with a round object like a foil covered chocolate, a bouncy ball or a bath bomb. This will make the wrapping process easier. Using small treats along the way will keep your surprise ball from looking lumpy.
2. Cut a roll of crepe paper into 2 to 3-inch strips, then cut each piece in half lengthwise.
3. Begin wrapping around the first prize, tucking the others in as you work.
4. Once you have used all the treats, continue wrapping with crepe paper to regain the round shape. Affix with a sticker, ribbon or gift tag.
What's better than bark?
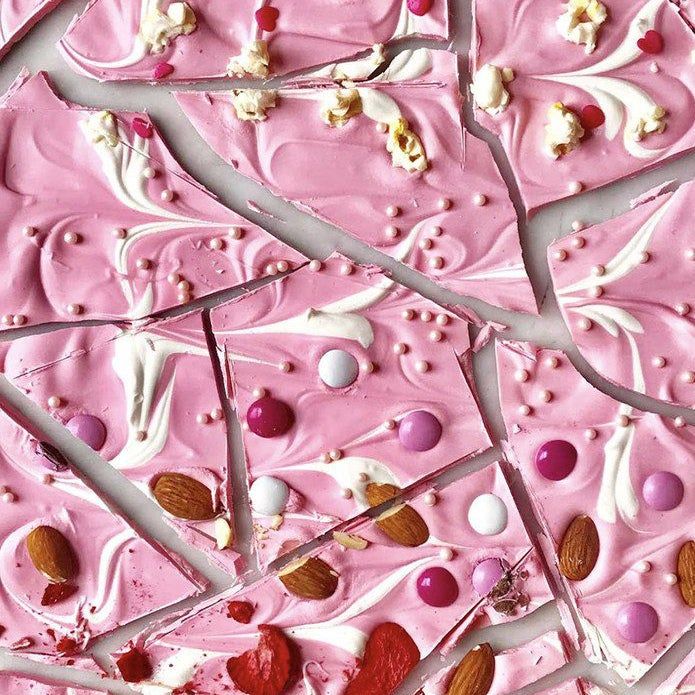
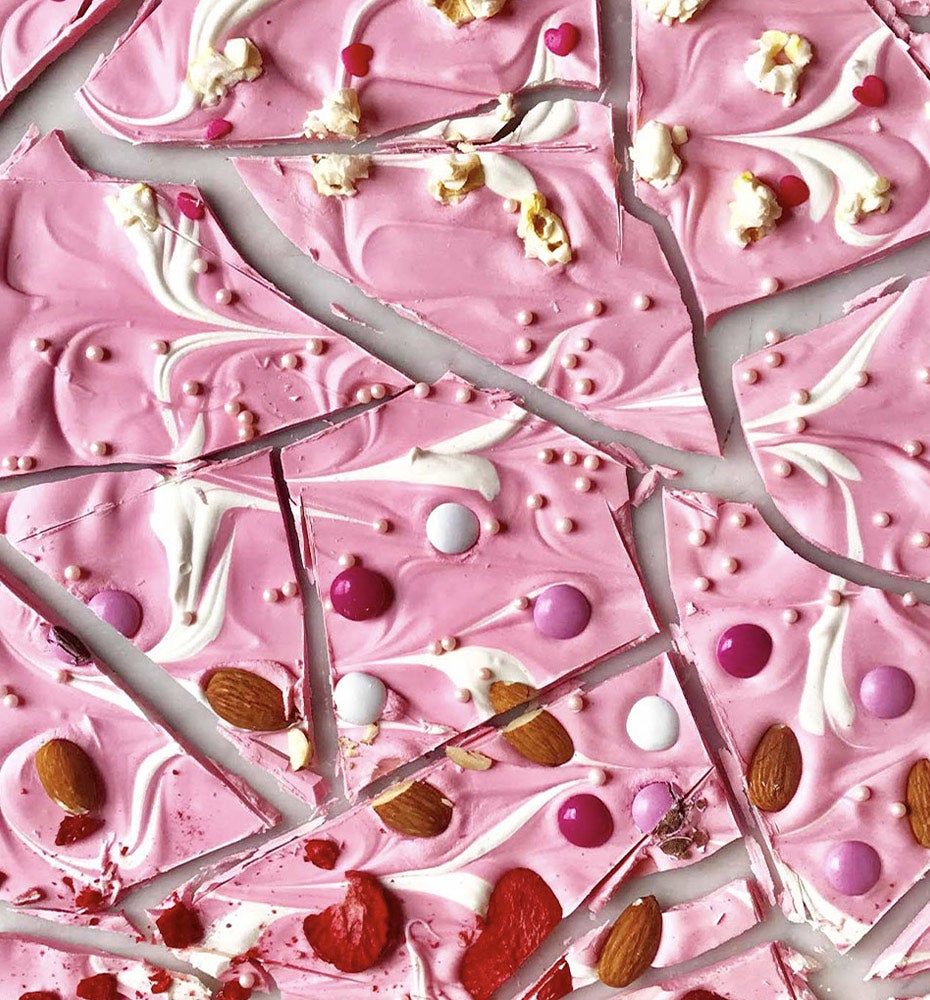
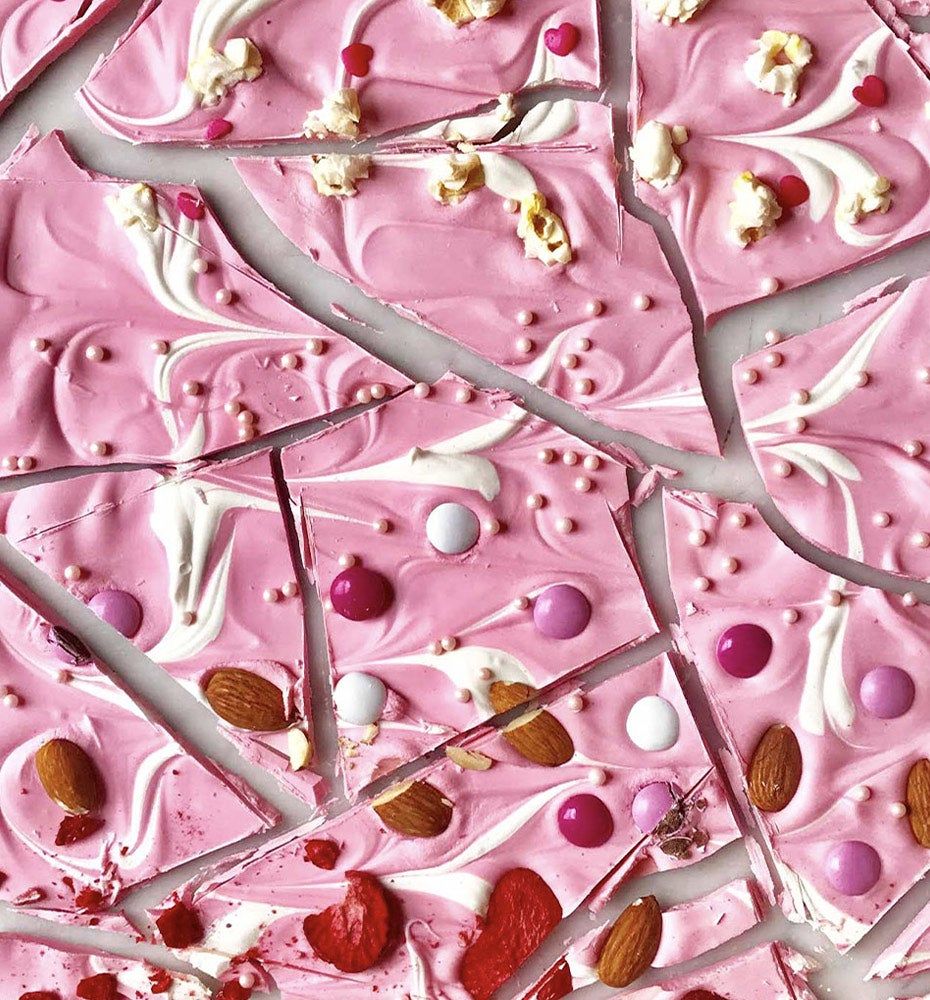
Bark in Love. It’s hard to find a tastier treat that’s as pretty and easy to make. And pink! Let the kids be creative with toppings. More is more!
Ingredients
16 oz premium white chocolate, finely chopped
Toppings such as dried fruit, nuts, pretzels, candies or other ingredients from your pantry
Colored melting chocolates for marbling (optional)
1. Place the chopped chocolate in a heat-proof bowl over a small pot with 1 inch of water. Be careful: The water should not touch the bottom of the bowl. Heat on medium-high, stirring the chocolate constantly until the water is boiling. Reduce heat to low. Once mostly melted, remove from heat and continue stirring until smooth.
2. Pour the chocolate into a 9-by-12 inch sheet pan and spread evenly with a spatula. If you would like to marble the top, add dots of colored melting chocolate and swirl with a wooden skewer.
3. Working quickly, add toppings, pressing them gently into the chocolate.
4. Cool in the refrigerator for 30 minutes.
5. Once cool, lift carefully from pan.
6. Break, box and gift!
Teaching minis the art of marbling
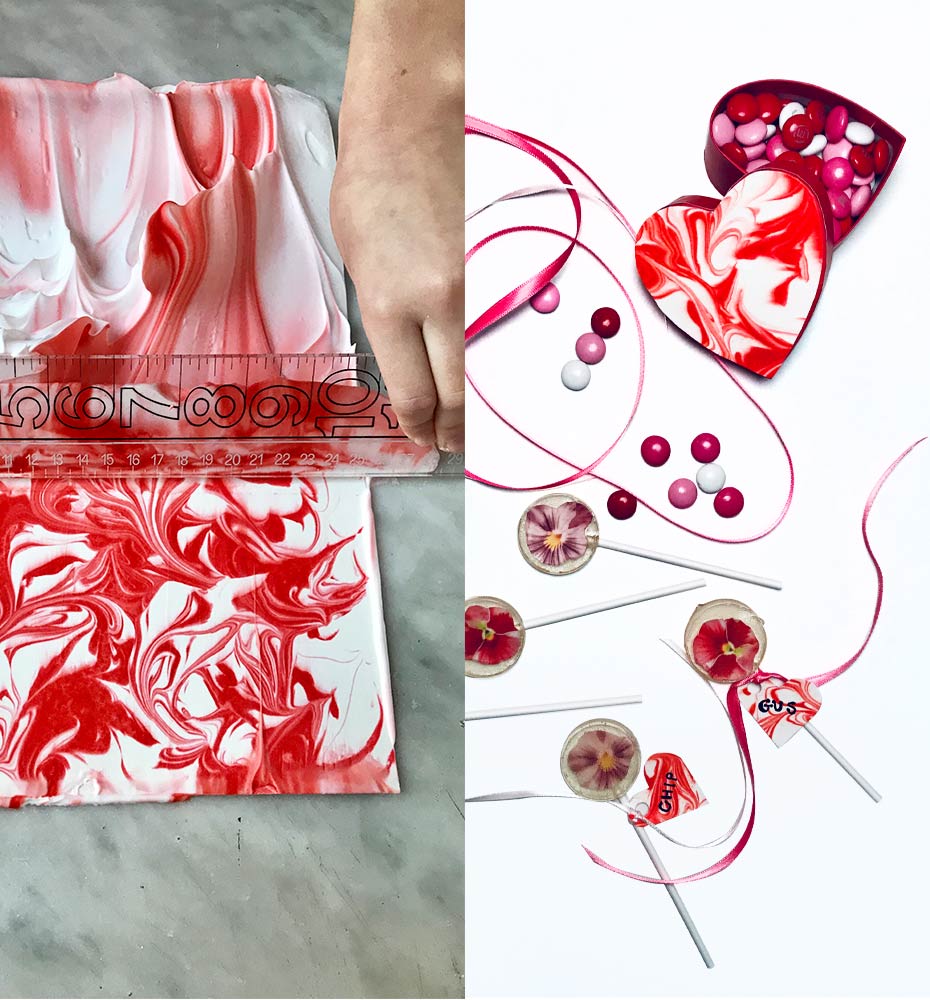
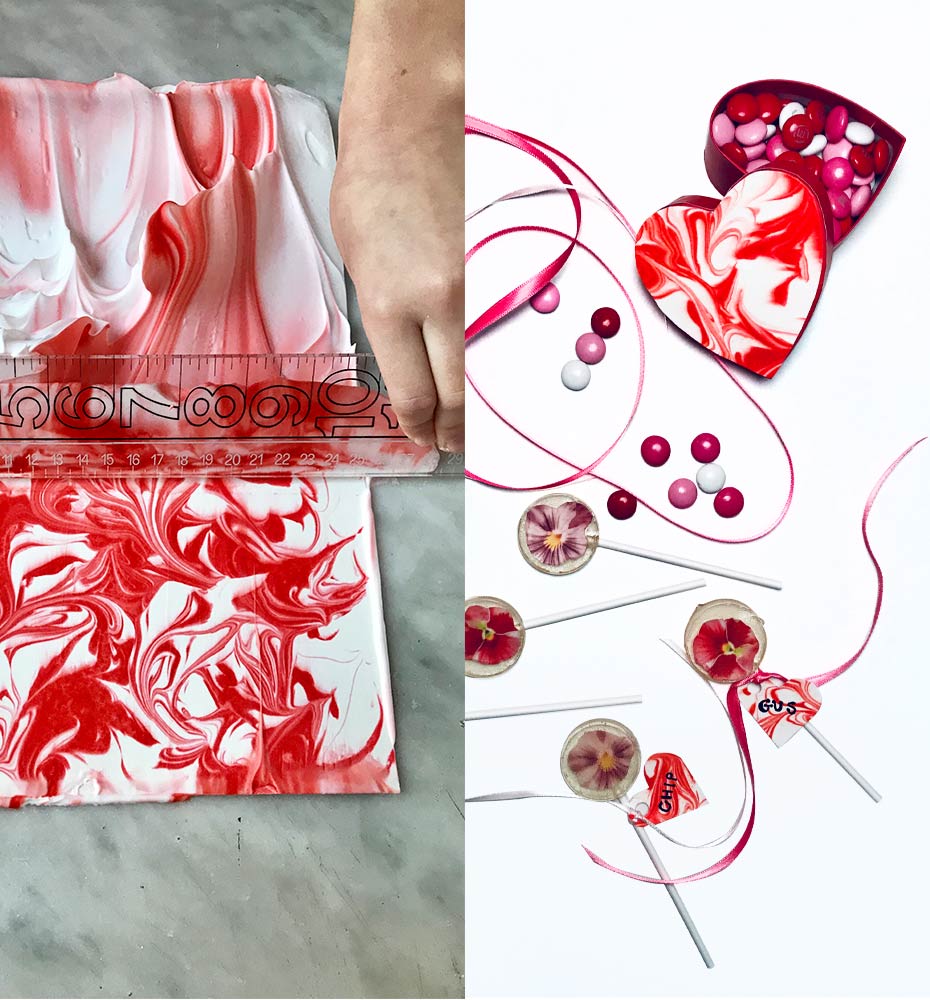
The kids are going to love this craft, which gets a little messy. (Don’t worry, it’s all contained in a baking sheet.) The end result is beautiful, one-of-a-kind paper that can be used to cover boxes or for cards and gift tags.
Materials
Baking sheet
Shaving foam
Gel food coloring
Cotton swabs
Card stock or watercolor paper
Ruler
1. Fill a baking sheet halfway with shaving foam.
2. Smooth the surface with the back of a spoon or a spatula and add dots of gel food coloring. Using a cotton swab, draw swirls and lines in the foam.
3. Carefully place a piece of card stock or watercolor paper on top of the foam and press down gently.
4. Remove the paper from the baking pan and place on a hard surface. Drag a ruler across the paper, removing the excess foam.
5. Allow the paper to dry and use it to make all your Valentine’s Day gifts that much prettier!
Olivia Poor is a mom of three from Cobble Hill, Brooklyn. Follow her @poorolivia